What it takes to become a fixer!
Attention, the equipment does not make you become experts !, article strongly not recommended for those who are afraid of getting burned
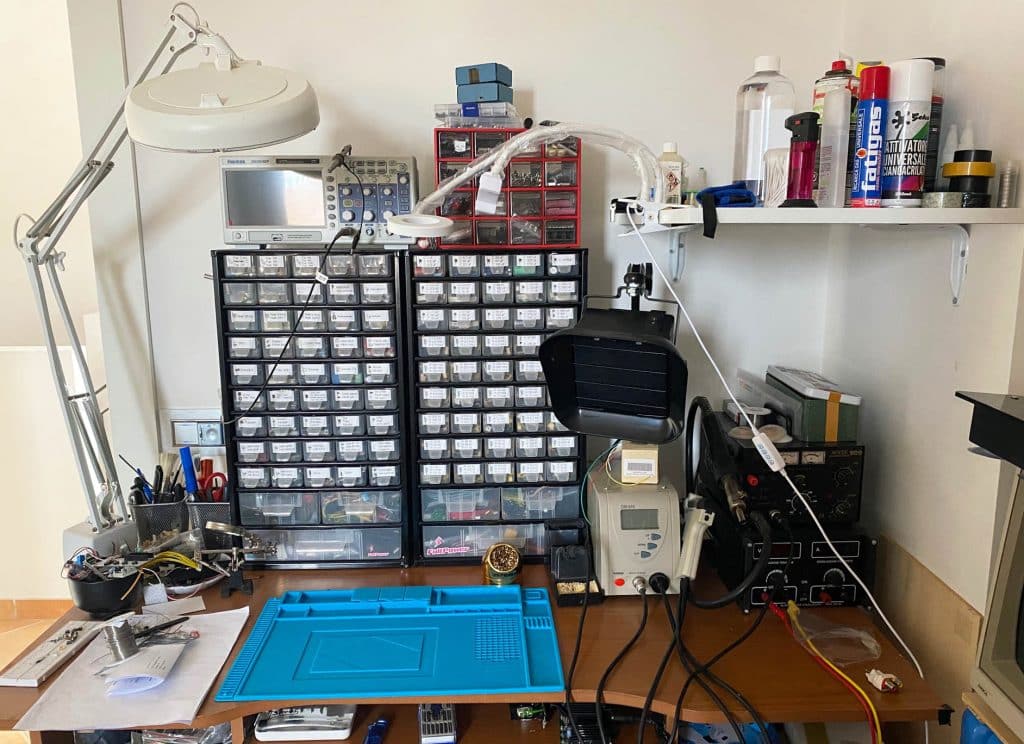
If you also like to improve or fix (or at least try) some household appliances, computers or build circuits, here you will find some ideas to start and to understand already what could be used.
Multimeter
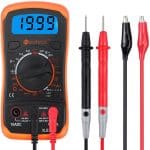
You can really find them cooked and raw, from simple low cost multimeters to more accurate and professional ones or with many additional functions to measure temperatures, capacitors, test transistors and even display waveforms.
I recommend that you also start a simple one that has the possibility of measuring DC / AC voltages-currents, resistors and diode test (perhaps with beep).
If you want to spend a little more, the capacitance measurement function will certainly be useful, perhaps even inductances and transistors.
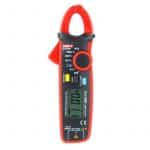
Among the various testers you will also find those with amperometric clamp which are useful if you need to carry out measurements on cables without having to interrupt them, they are used on alternating currents and you need to measure only one pole otherwise the electromagnetic effect is canceled.
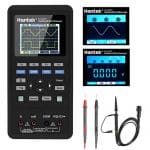
For now let's forget the oscilloscope which is certainly useful but to start with the cost we try to do without it, but if you want to throw yourself into computer repairs without spending too much, there are handhelds that are able to measure well up to a few tens of Mhz.
Welder and the like
The soldering iron is an indispensable tool if we want to weld or remove a wire, a component, etc. We can find several and each for a more or less specific use, let's see which one will be more useful: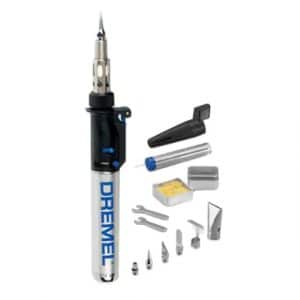
GAS welder, excellent for carrying it around and very useful in case we do not have electricity available. Uncomfortable to have to reload and you have to pay attention to the hot air coming out of the tip because it can ruin the surface where it is placed.
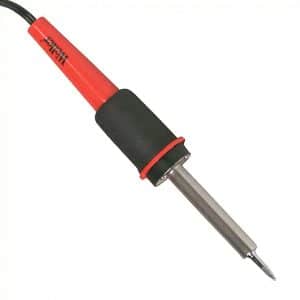
The classic wire soldering iron is an all-rounder, it costs little but does not have a great temperature adjustment and often the power wire is short and stiff, a bit annoying for prolonged use.
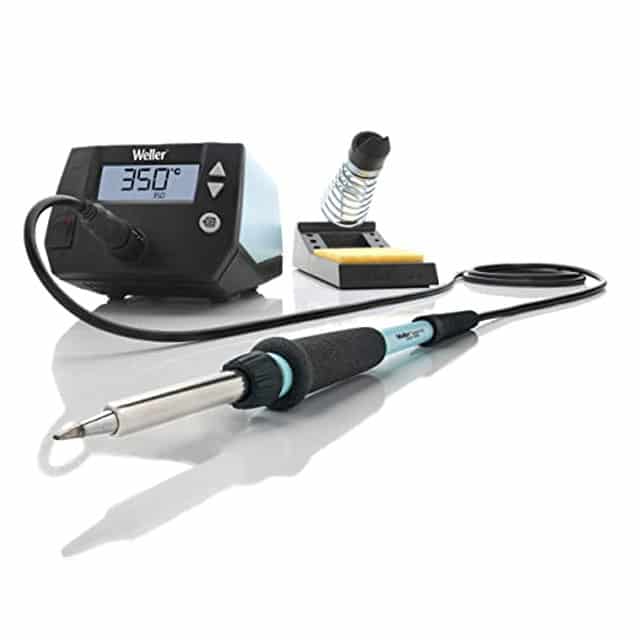
The soldering station is a great tool to start with, you can adjust the temperature and it is very handy to hold. The cost is starting to rise but thanks to the interchangeable tips it is a complete tool.
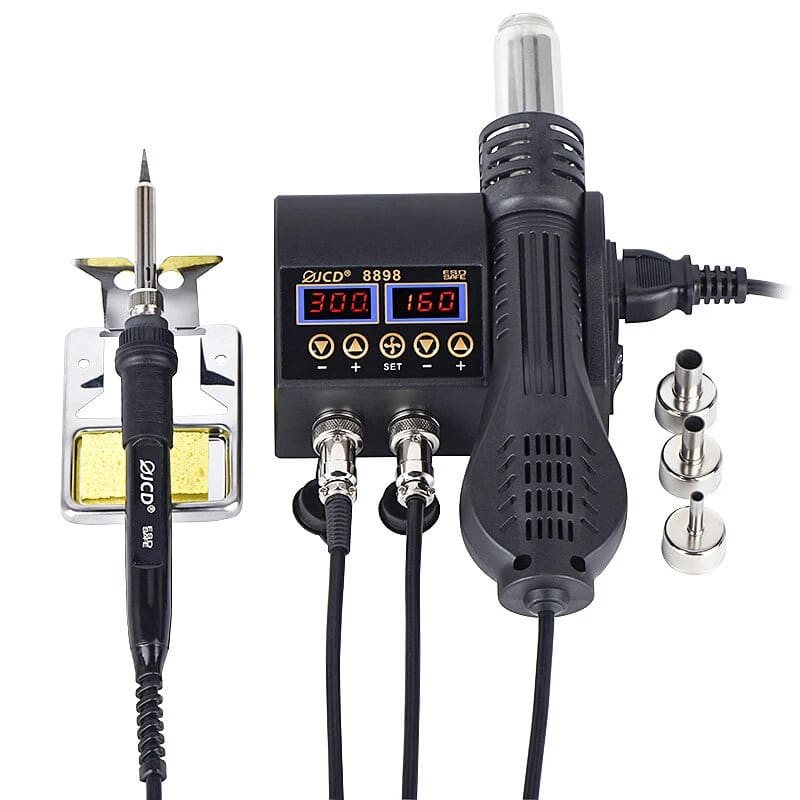
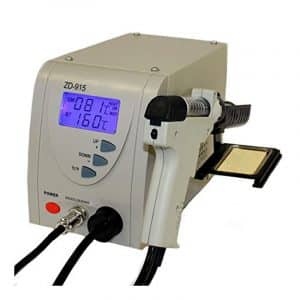
The hot air soldering station is a further step forward if you want to solder and desolder smd components. It is a more advanced tool that may not be used by those who are starting and given the cost we tend to leave it for a further step.
The choice of welder depends a lot on what we work on and often more than one is needed for different situations.
If we are starting and do not want to spend a lot, we can focus on a soldering iron with wire, even if I recommend starting at least with a soldering station, maybe we do not take the excellent brand but with a decent one you have excellent results.
Hot air stations are very useful if we start dealing with SMD components, but if we don't think about going into this field we can leave it aside. There are also other types of soldering irons such as infrared ones, with heating bases etc., but these are for a more specific and also more expensive use. The interchangeable tips are very useful for switching from large solders (such as cables or areas with large pads) to very small components, the soldering station may not be enough for very large pads that dissipate a lot of heat (especially if we want to remove an RF modulator), in case it is better to keep a wire soldering iron with a chisel tip at home, these do not have an adjustable temperature but they heat a lot and are perfect for tinning large cables or large non-thermally insulated pitches.
In addition to the welder there are also these tools to consider:
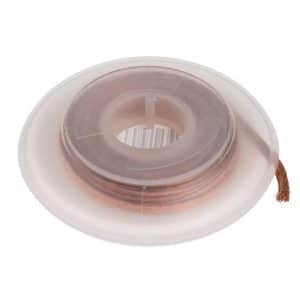
A copper braid is very useful for removing excess tin and can also be used for desoldering components. Let's say that on single-sided bases it is simple, for others it is more complicated and often a pump is needed
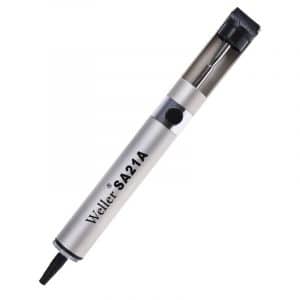
The legendary tin sucking pump is excellent for desoldering through-hole components and can also be used on double-sided circuits even if with a little effort.
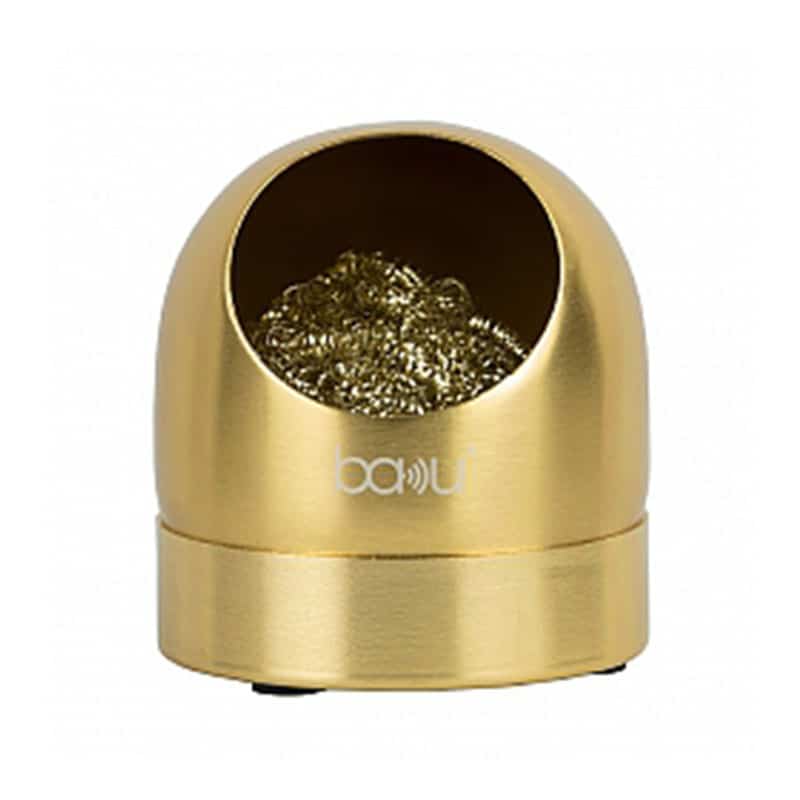
A wet sponge is used to clean the tip of the soldering iron or these curls are perfect for effortlessly removing residual tin. It is always ready to use!
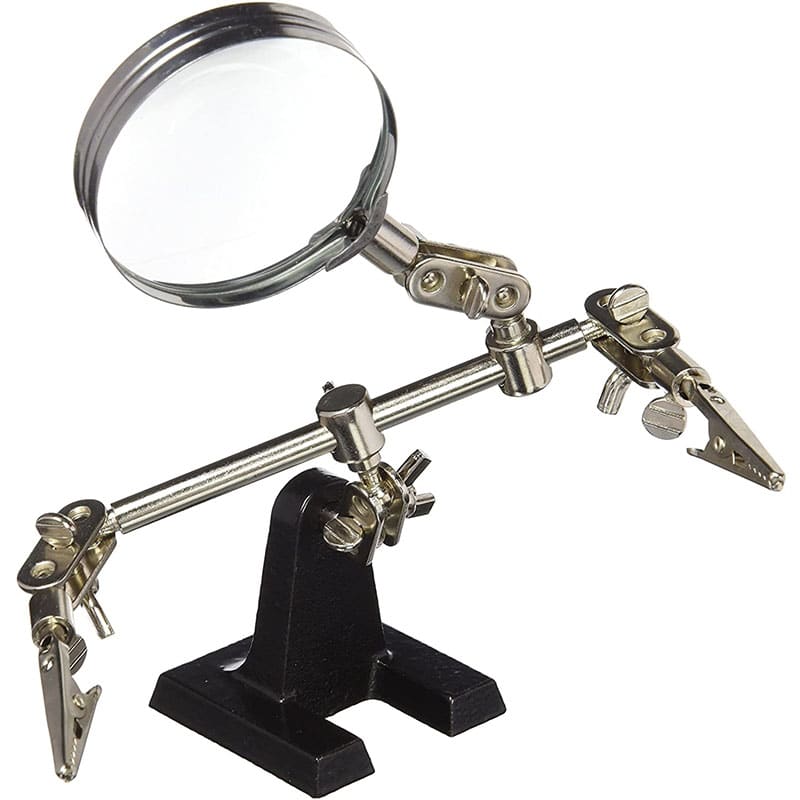
The third hand with lens is a valuable aid to hold PCBs or parts to be soldered. I don't find the lens very useful but it can help to get started. There are other types also without lenses or with more arms.
The gun desoldering iron is very similar to the pump (even heated) but is much more practical with the temperature regulation and the suction pump. Double-sided PCBs can be desoldered with little effort. On the other hand, it consumes many filters for the air intake on the gun.
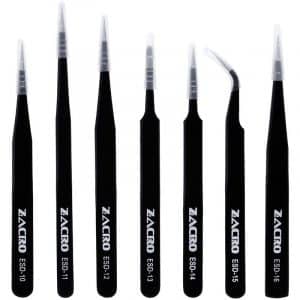
Tweezers of various shapes essential for soldering and removing SMD components.
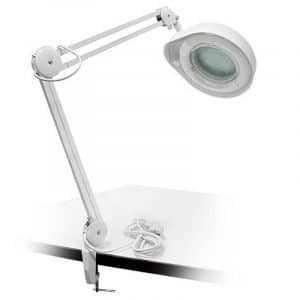
A magnifying glass with light is what it takes to illuminate the table well and the lens remains useful for working with more precision. Uncomfortable for very small components, to be held in front of the face and welded without hitting them

For smaller components, a pair of glasses with a replaceable lens may be more convenient in order to have different magnifications. This is also equipped with a light to better illuminate the work point.
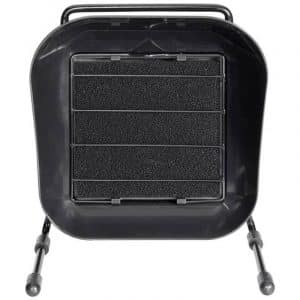
If you want to work in safety, it is advisable to use a polymer clay vacuum cleaner. Here too the choice is vast, there are table or with articulated arm, even better if we can let the fumes out with an external duct.
Choose the one that suits you best based on cost and result. To always keep near the work table, I recommend a little isopropyl alcohol and a cloth or sticks to clean your ears, very useful for cleaning welding residues, removing flux or for other cleaning purposes.
POND
Let's move on to tin, another inevitable thing in our laboratory and let's call it welding wire (since all that glitters is not tin),
For the work we have to do it is certainly recommended to use a wire with flux inside to help the welding and make the material adhere better.
We can find the line in different shapes, but the most used is the spool and the choice of weight is based on how much we use for that type. As a measurement we start from a standard of 1mm and go up for larger welds or we can go down to 0.8 for smaller components, there are even smaller sizes but under 0.6 it is really small and only useful for micro-welding. As a start, a diameter of 1mm can be useful for everything.
There are different characteristics besides the diameter and the flux inside the wire such as the percentages of material of which it is composed, eg. copper, whether it has lead or not. The most common is a 60/40 easy to use because it melts earlier and remains more liquid than a 63/37, the fact that it has lead certainly helps those who are beginners because with lead the solder remains shinier and is more difficult to burn it, but it is certainly not very ecological and healthy, if you take a hand in soldering and use a good tin you will also succeed with lead free.
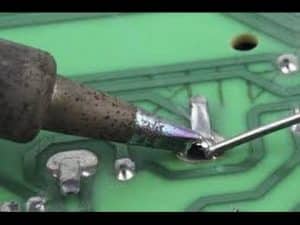
The melting temperature is around 190 ° C (depends on the material) but to solder we not only have to start melting the tin but also heat the part to be soldered to make the material adhere.
We can start with a temperature between 220-240 ° C and start experimenting perhaps with a breadboard or something to throw away, you start by heating the part to be welded and then add the tin, it should not be kept too long ( especially on small pads) and the tip must be clean to get a good result.
Flux yes, flux no ...
To weld the classic through-hole components you can do without them, but it could be useful to remove or re-weld old welds.
It is highly recommended if we start soldering SMD components, yes because you will be able to make the solder adhere easily on the pins and it helps to prevent the solder from sticking from one pad to another. For this it takes a little practice in dosing the tin but you can make excellent solders even on very small pins.
You can find the flux in the form of a more or less hard liquid or gel, I for very small solders I am happy with that gel because it does not evaporate immediately and leaves the time to pass on all the pins of an integrated, but I also use that liquid for not too long points. Remember to clean the circuit once you have finished soldering. Even with no-clean flux, I prefer to brush it with some isopropyl and a good brush with an old toothbrush. You will see that the circuit will be as if it came out of the factory and there will be no risk of involuntary conducting.
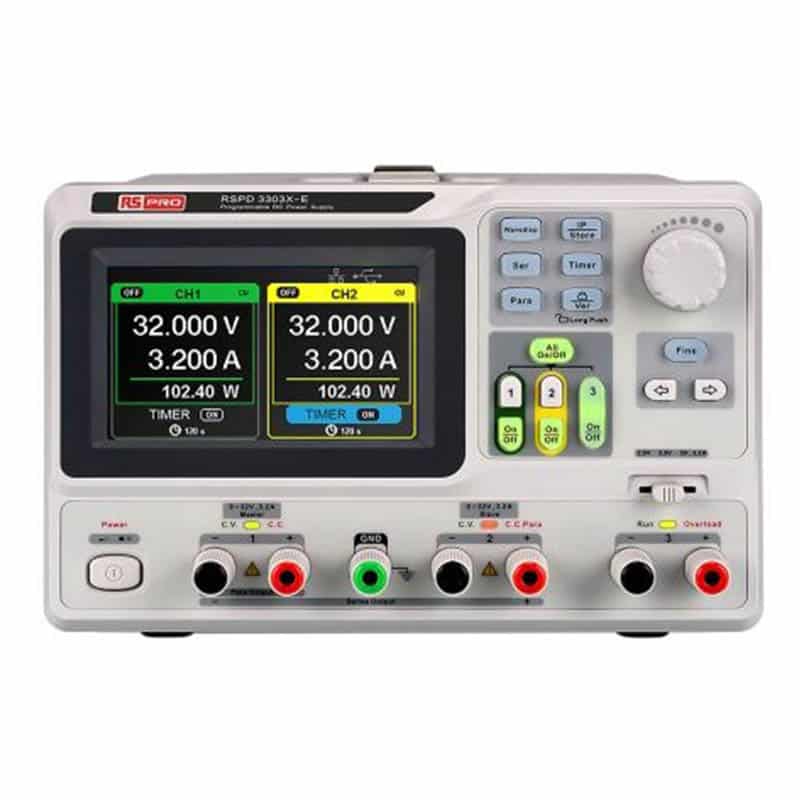
power supply
Don't be fooled if I haven't put this paragraph before, the power supply is one of the indispensable tools and should be of good quality.
How to choose a power supply without getting lost among the many more or less good adverts .. Well, first you need to know what we need to feed and how much we want to spend. I recommend using the pennies saved maybe on other tools but to invest a little more on this component.
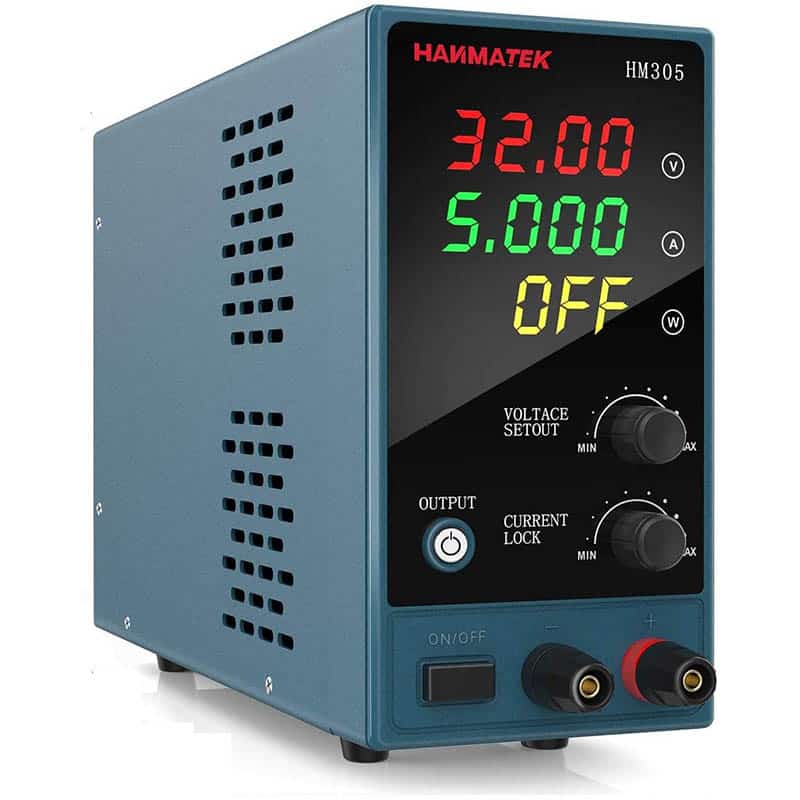
The main characteristics that a power supply has are the outputs and the voltage and current range capable of generating, in addition we can have short circuit and current limitation protections. Get an idea of what you need to power (in general), a 3-30V power supply usually covers most cases. In addition to the output voltage, the maximum current that we can obtain must also be chosen, even here with 5A we can be on the safe side, we will rarely need higher currents and the costs would rise !!.
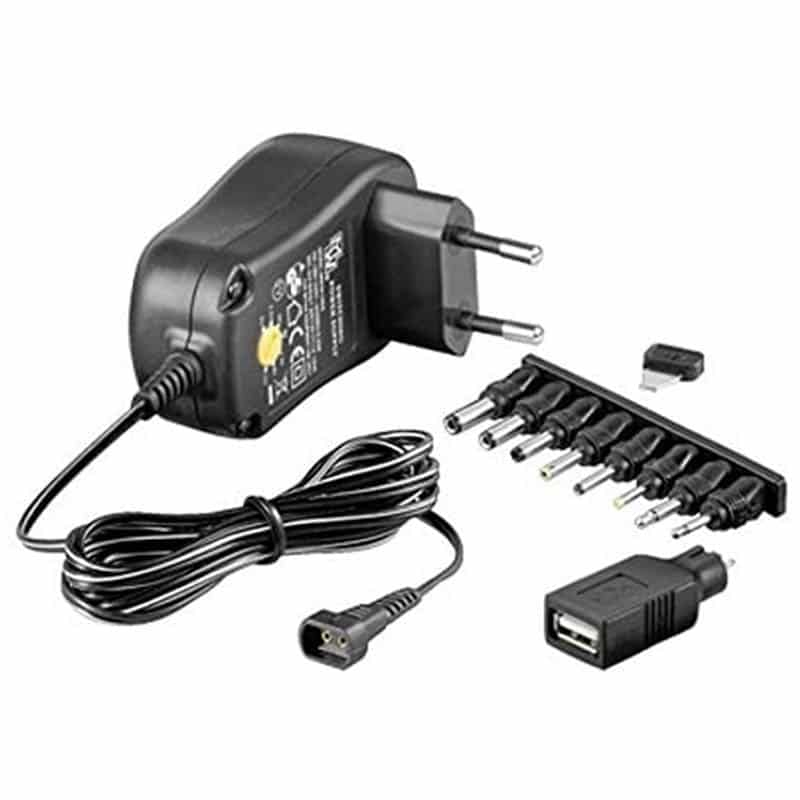
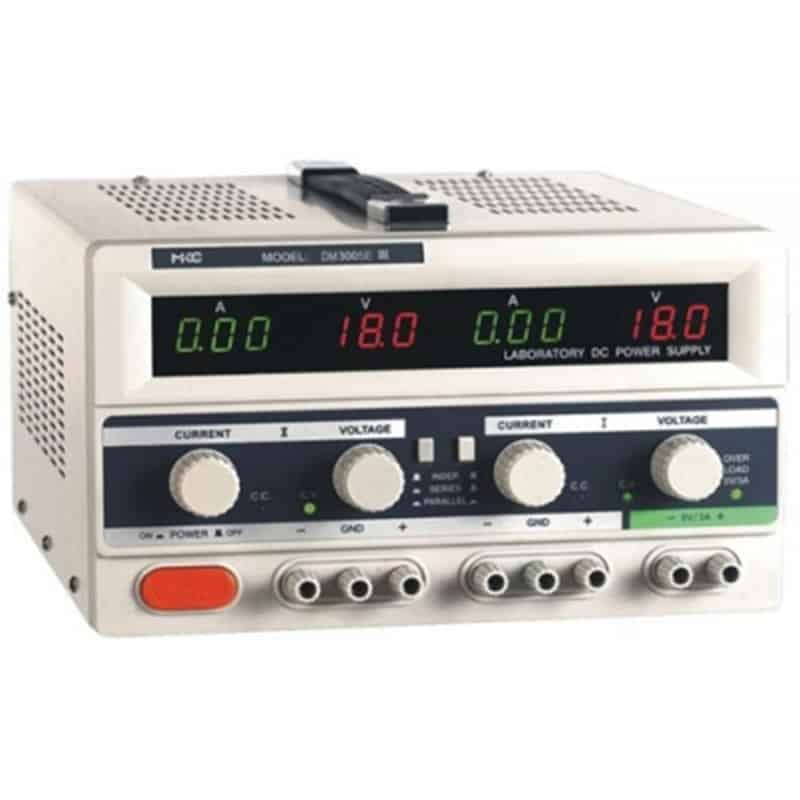
Additional functions that should not be missing are a current limiter that will prevent us from frying the circuit if we get something wrong or if it is short-circuited, the limiter does nothing but decrease the voltage when the threshold current is exceeded in order to maintain the current on our set value. Another parameter to choose the power supply is the number of outputs, often one is enough but there may be an opportunity to power the circuit with 2 different voltages, yes ok, we can solve with a small adjustable power supply of the super cheap ones that for few occasions can fit.
Power supplies can also be built with an old ATX power supply of a fixed computer, the voltages are fixed and not higher than 12V without any short circuit protection.
Looking at them from the outside, the power supplies look alike and one would wonder why to spend a sum if this costs half and maybe it is more powerful or has more functions .. The beauty comes inside the power supply and you can't see it! The quality of a power supply also lies in generating the cleanest and most stable voltage possible even if its maximum deliverable current is required.
Cheap power supplies can generate spikes when turned on or off that could damage what is connected, so if you use a poor power supply, do not connect the load and then turn on the power supply but do the opposite.
The more professional ones have a number of additional adjustments and the ability to select the voltage and power the output only when you press the key to activate the output (s).
In summary, look for a power supply with the best quality you can afford that can at least handle voltage and current so as to see if there is abnormal draw.
Various
More things that shouldn't be missing from our work table!
- Well definitely a small brush to clean any dirty circuits.
- A file or set of files (even a wire brush can work) to be able to clean oxidized or rusty parts.
- If you work on old 8bit computers, a key puller is essential.
- I take it for granted, a set of screwdrivers, scissors, cutter, electrical tape and paper, permanent marker, Allen wrenches and maybe torx.
- Thermally conductive paste, small nose pliers and wire cutters
- If you work in high frequency or you need to adjust capacitors on HF circuits a ceramic screwdriver.
- Contact cleaner spray, isopropyl alcohol and lubricating oil.
- Cables, perhaps of different sections to make connections, heat-shrink sheath to insulate joints, etc.
- A bit of generic components (some LEDs, transistors, capacitors, resistors, diodes, connectors ... can always be useful)
- If you like to experiment, also get one or more breadboards, breadboards and dupont / jumpers.
- Flux, tweezers and kapton tape a must if you go on smd and hot air.
Welcome FIXER
Start little by little with the necessary things and then add others and in the end you will be able to fill the table with everything you need, above all do not be discouraged especially if you are at the beginning, study, document yourself, try again ...
Mistakes also happen to those who have a lot of experience, often the fault of haste or taking something for granted.