
Master System Region Mod
6 June 2020
Atari problem solving
6 June 2020
INITIAL LOGO NINTENDO "RUINED"
![]()
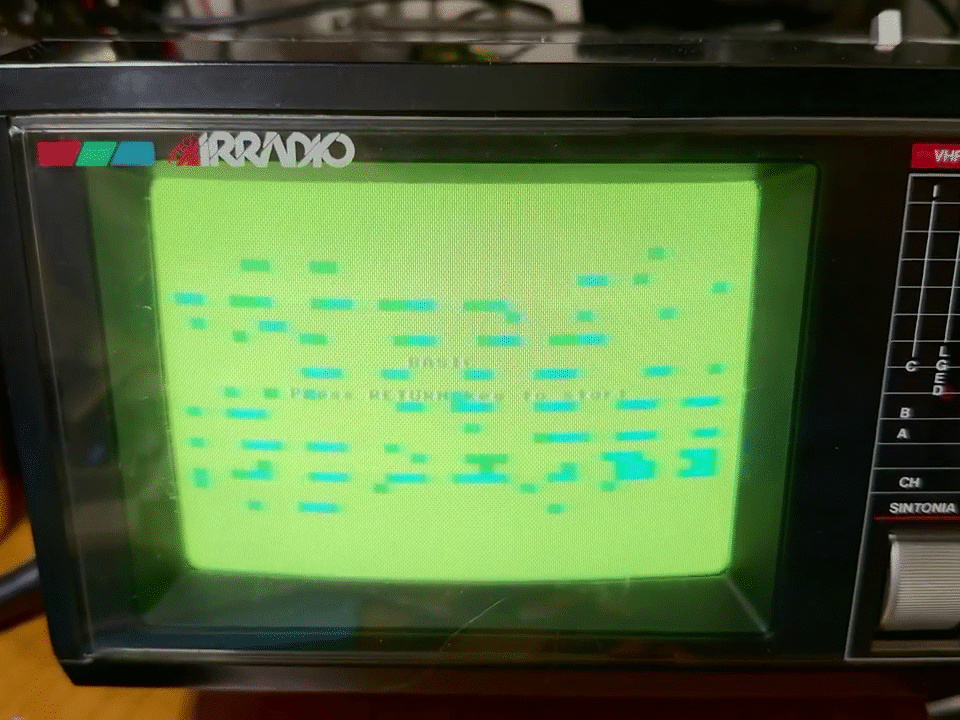
If, as soon as you turn on the console, you see the NINTENDO logo with some defects, most likely there is an oxide / dirt problem either on the cartridge contacts or in the slot where the Game Boy cartridges are inserted. Clean with compressed air / isopropyl alcohol or product to clean the contacts both (perhaps started first from the cartridge) and… magic! In this way you can also recover cartridges given as "not working" (if the logo is not read correctly, in fact, for protection reasons, it is not started at all by the console and the screen remains on the "damaged" logo).
NO AUDIO FROM THE SPEAKER
(but audio present from the headphones).
When you insert the headphones into the console, the audio coming from the speaker disappears completely, this is normal. Sometimes it happens that due to wear or dirty contacts the female connector of the headphones “hears” the headphones always inserted even if they are not there; blow with compressed air and / or clean with isopropyl alcohol (or product of your choice) and the problem will magically disappear! Explanatory link.
VERTICAL LINES MISSING IN THE LCD
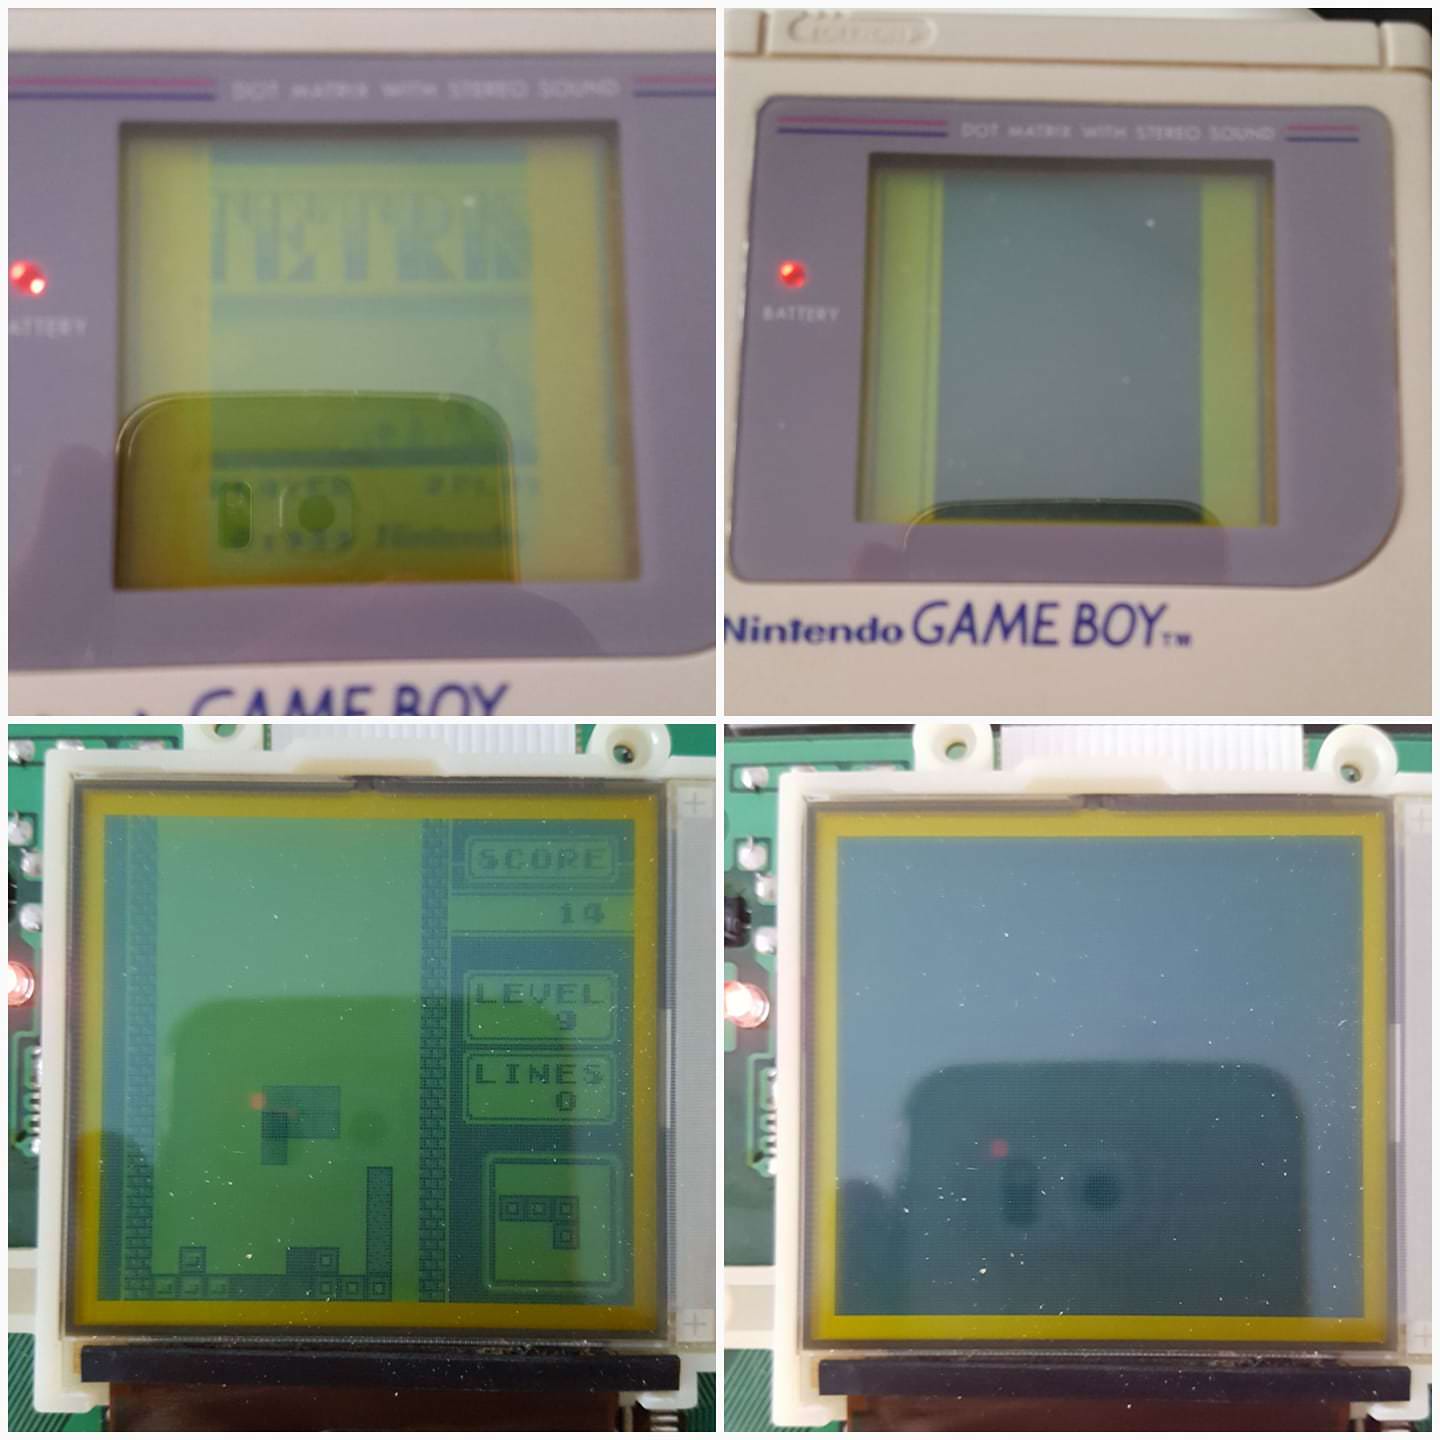
If, with contrast ALL SET TO “DARK”, the WHITE vertical lines persist then THEY ARE REPAIRABLE! If, on the other hand, something is visible then it probably CANNOT be repaired with this technique. The problem lies in the small welds placed in the lower part of the display which usually, due to trauma or falls, tend to become slower. To repair them, open the console, remove the thin and long protective grommet at the bottom and heat the contact area where the lines are missing to 350-380 degrees with a fine-tip soldering iron (the "finer" the less damage you risk doing), passing with the tip quickly enough to avoid dissolving the delicate areas; do it with the console on and you will magically see the lines reappear! See explanatory video below:
Se invece il problema risiede nelle linee orizzontali si puo’risolvere in analoga maniera ma raggiungere le saldature è molto più complesso (sono sotto al display)… fatelo a vostro rischio e pericolo 😛
MORE SCREEN!

Are you tired of having to use your old Game Boy backlit screen to play? The BACKLIGHT MOD is the one for you! In practice, a thin LED illuminated panel is applied to the back of the original console LCD and the result is fantastic! There are basically 2 types: 1 - BACKLIGHT: this involves the opening of the GB, the detachment and removal of the thin? Aluminum? which is immediately behind the polarizing filter of the LCD, the application of the LED illuminated panel and the welding of 2 strands to power it. 2 - BACKLIGHT + BIVERT: this involves opening the GB, detaching and removing the thin? Aluminum? which is immediately behind the LCD, the detachment of the polarizing filter (yellowish) between the thin aluminum plate and the LCD, the addition of a small circuit that inverts the color of the pixels (called bivet), the application of a new polarizing filter in place of the old one to return the non-inverted pixels and finally the application of the LED illuminated panel with the welding of 2 strands to power it. Here is the difference in yield between the 2: Unfortunately in some Game Boys the glue that holds the layers to the lcd can be very tenacious and since it is not possible to disconnect the lcd from the motherboard because the flat cables are soldered ... you seriously risk breaking them! The nice thing is that you can choose the color of the backlight led! Find everything you need (rather cheap) here. Do everything at your own risk!
GAME BOY PRINTER HACK
The chemistry of the original thermal paper of this beautiful printer tends to degrade over the years so using it today we will have decidedly faded prints. The original rolls have a total diameter of about 30 mm and are about 37 mm wide; they can be easily replaced by any other roll of thermal paper of the same size or suitably cut (eg with a manual hacksaw). I have had excellent results with this high quality paper:
 (magari limate un po’meglio i bordi di taglio 😛 ). Sarebbe buona cosa fare una modifica all’alimentazione di questa GB Printer perchè richiede ben 6 batterie AA (totale 9V) ! Quindi potete collegare un jack per un alimentatore (con la corretta polarità , mi raccomando !) a questi punti (rosso + / nero -):
perhaps by letting the wires come out inside the battery slot:
Lastly, there is one mod to connect the printer to the PC via USB. Find necessary and software in the link.
