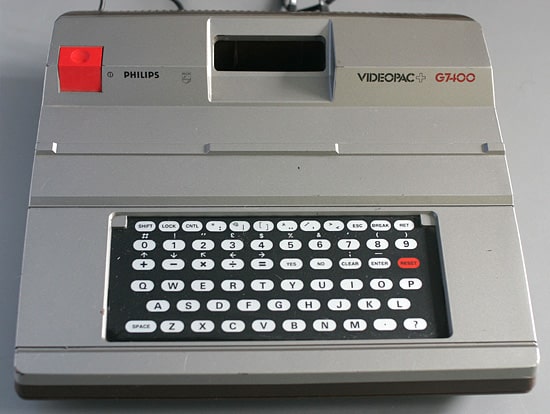
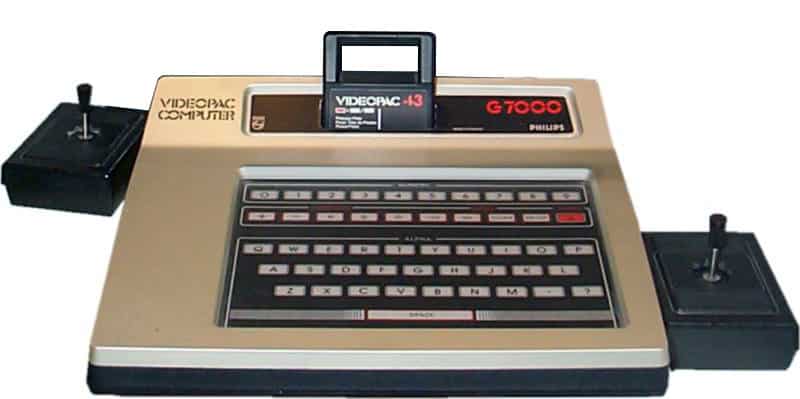
This console is the evolution of the earlier Videopac G7000 model, known in America as the Magnavox Odyssey², and it was also due to come out in America as the Odyssey³, which never happened given the little success it had in Europe and the fear that it wouldn’t sell in the USA either.
Well, in fact if we compare the two consoles we don’t see many differences, apart from the boxier styling of the 7400.
Inside they are very similar, same joysticks, same RF output.. so what changes? The difference was that the new console had better graphics, but not by much! In fact the 7400 can use backgrounds in games, plus a few improvements overall.
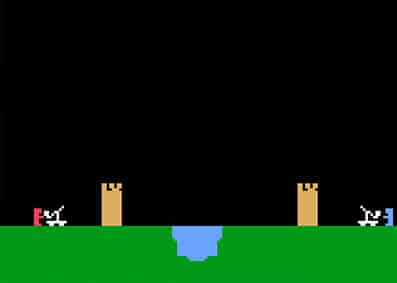
The nice thing is this console’s backward compatibility: it could use G7000 cartridges, and many G7400 cartridges could also be used on its predecessor, though without the additional graphics. Below is a 7400 game and how it runs on the 7000
Stone Sling G7400
Stone Sling G7000
The repair
Here we are at the most interesting part: I switch on this G7400 and what do I find? A black screen! This console only outputs RF (aerial signal, channel 36) and I check that the carrier is present; if it had been a problem with the power supply or modulator I wouldn’t have got a black screen, just snow.
On opening the console I don’t find anything strange apart from some dried oil in a few sockets, nothing a good clean can’t get rid of. If you need to clean socket or chip contacts, I recommend not using an oily product, because together with dust it creates even more dirt; a fast-evaporating contact cleaner or even some alcohol is better, plus a scrub with a toothbrush or a cloth to remove any remaining dirt, and job done.
The next check is to see whether all the voltages are present, then I move to the processor and start checking the clock and other signals. Fortunately there’s a good manual which, as well as the schematic, explains how to proceed in case of a fault and indicates which signal we should find on the processor or other component to work out where the fault is.
You can download the service manual here or from the page download.
Checking various signals I notice that something is wrong: some always stay the same, with timings different from those given in the guide. Once the processor was replaced, the console came back to life and is working. There was a small job to do on the keyboard too: it uses a membrane that doesn’t dry out like the one used in the ZX Spectrum, but the conductive layer wears away and no longer makes contact in the connector. I had to cut off 4-5mm of the old membrane so that the contacts could touch the connector’s blades again; two or three traces were so worn that only the plastic was left.
Composite editing
After fixing everything, all that’s left is to do the composite mod, as the owner wanted. Nothing complicated, and there’s not even any need to drill the shell: you just route the cables out through one of the case’s hole closures.
As for the composite mod, I took the audio signal directly from the resistor and the video amplified by a simple 2n2222. Here is the schematic I used, taken from this site odyssey2.info.