Ping-o-Tronic
20 August 2022
5-button joystick for Commodore
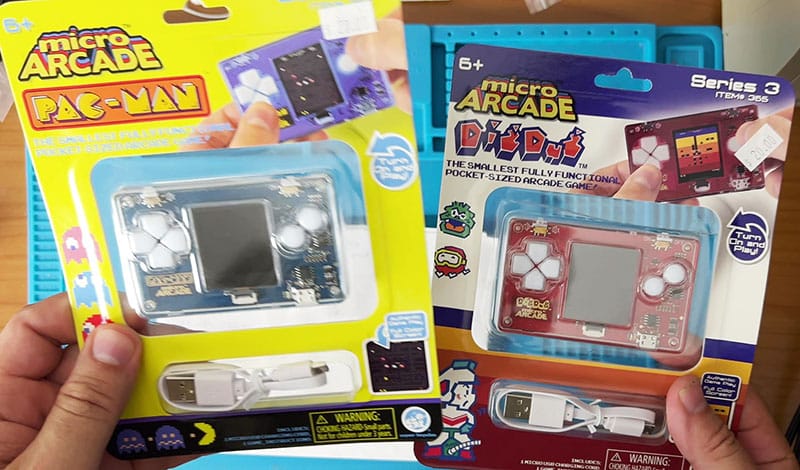
19 October 2022Today we find many re-editions of our beloved Arcade games, in the form of mini cabinets or as the most classic wind chimes, these consoles can play a game or even many selectable through a menu.
All this for us nostalgic of these games that we often found in the arcade or in some console of the time.
Many of these video games are produced with different games often maintaining the same shell or changing only the external color. To reduce production costs and to facilitate the production of one type rather than another, a rom containing more than one game is used and the correct game is selected by means of a jumper based on where it will be mounted.
The advantage is that if a game is popular it is very easy to retrieve cards from one that perhaps sells little and set it with the correct game. So let's see if our Arcade contains more than one rom to play all the titles of this series.
Warning, this may not always be true, some cards are programmed with only one game!
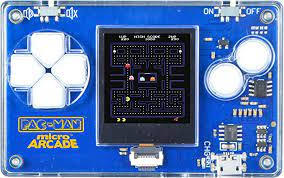


How can I change my game?
The first thing to check is if there is already information on the Internet so that you know first if this is possible or not.
Otherwise we proceed to open our Arcade mini-cabinet and check the circuit.
Yes but what should I look for ?!
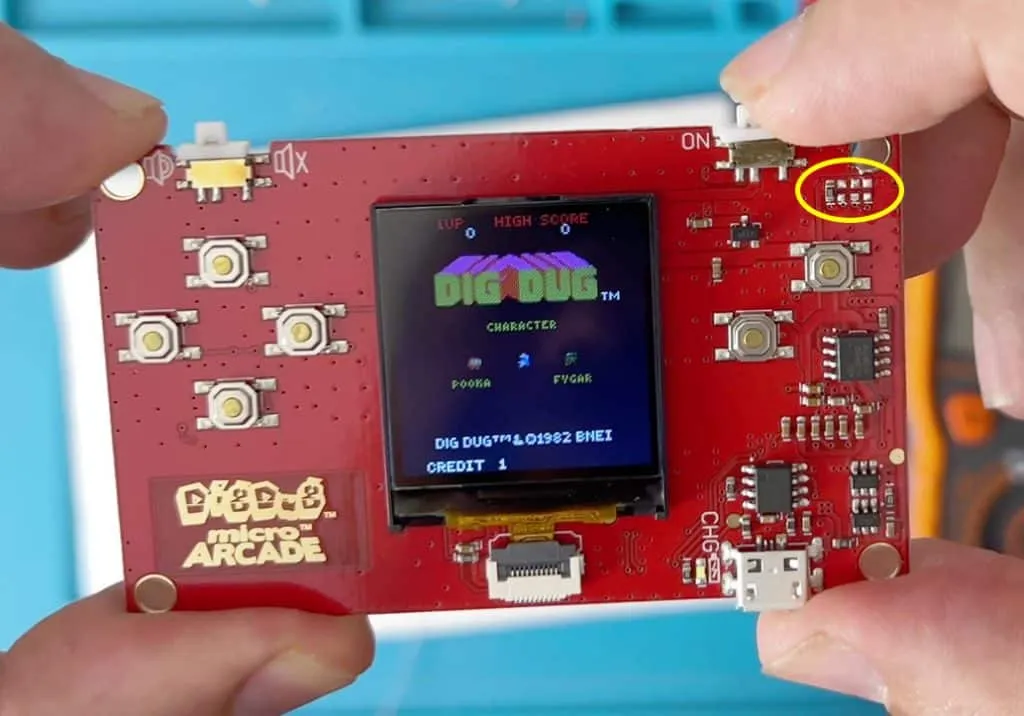
We have to see if there are any jumpers around the PCB that we can close, they often have the shape of a resistor
Here in detail you can see where the jumper is positioned.
In this tab we find one side of the jumpers to GND and the other will go to the micro to select the game.
The simplest thing is to take a dipswitch and connect it on one side to the GND and the other pins in their respective pads, so we can select the game only by moving the selectors.
The bad thing is that no matter how small the dipswitch on these micro devices may be too big and sometimes not easy to position, in addition to the fact that the case must be drilled to be able to access it !.
Another solution could be to use the joystick keys !, as it happens they are just 4 like our pads !.
It is to be verified that these buttons also give the negative output like the jumpers seen before and in this case it is just like that.
The only thing to do now is to bring some wires from the output of each key to a pad for the game selection, obviously the pad that must be put to GND, not the one already connected to the negative, same thing for the direction button , you have to take the pin that by pressing the button connects the negative and disconnects it when you leave it otherwise it will not work.
Come visibile sopra, non ho fatto un bel lavoro ma funziona!, consiglio prima di far passare i fili e portarli ai tasti più vicini in modo da non farli accavallare, cosa che non ho fatto in questo 🙂
However, apart from the routing, you can see the pin in question, the bottom side of the jumpers connected with the pin on the top right of the keys.
The order doesn't matter, this is just to get one game to start instead of another.
Important thing to say:
In the past these changes were simpler and the games were also lined up, pad 1 - game 1, pad 2 - game 2 etc ...
Now things get complicated, to make these changes more difficult the games may not be sequential and as in this case, to start one it may be necessary to hold down more than one key, in this case the change with the dipswitch is certainly more efficient.
Another thing is that if you turn on the console with a key pressed, it will not start (check or protection?) So we have to turn on the game with the key pressed (to make it select the game) and then leave it to start the console.
Now all that remains is to remember which key combination you need to start the game and have fun!
This is the video of the change above and subscribe to the channel to not miss the next videos, so you will help us grow and support our work .. it costs nothing and it's free!
If you are not subscribed to the YouTube channel, you can do it here:

