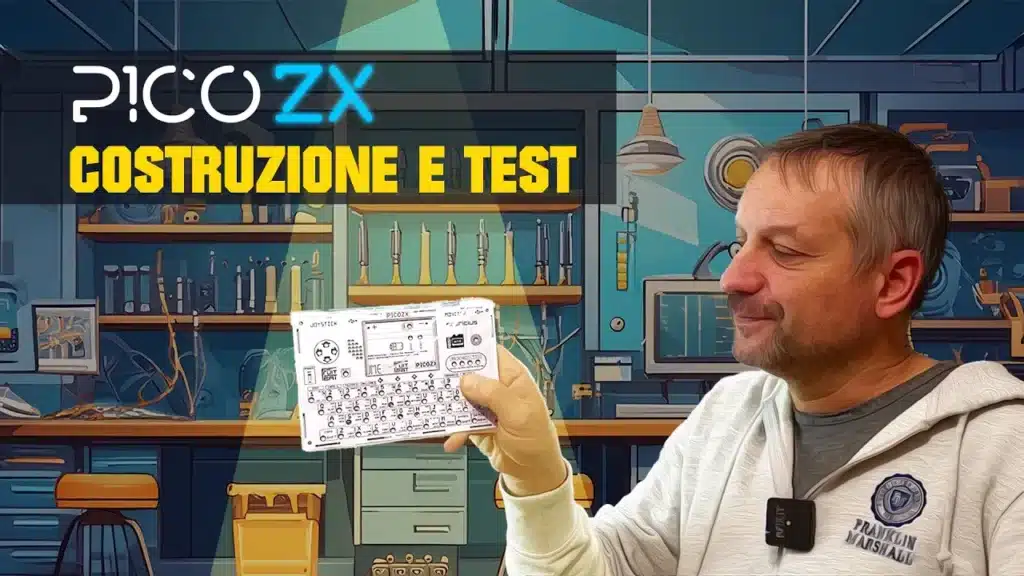
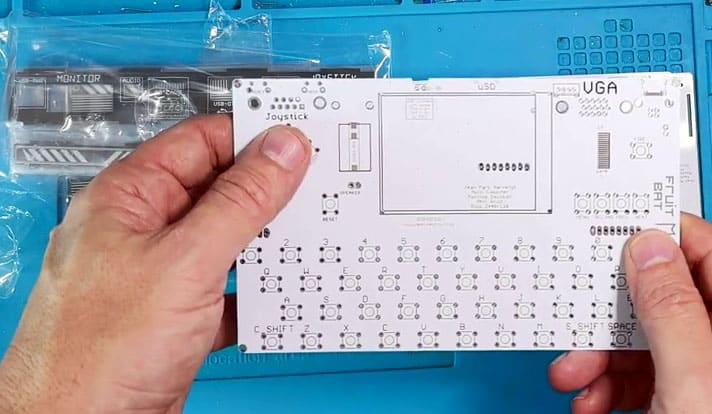
This is a small handheld emulator based on an inexpensive Raspberry PI Pico or a more powerful Teensy 4. The beauty of this project is its compactness: it integrates an LCD display and a small speaker, and it can emulate the ZX Spectrum or other systems such as the Commodore 64, Atari2600, MSX and Apple II (the latter require a Teensy).
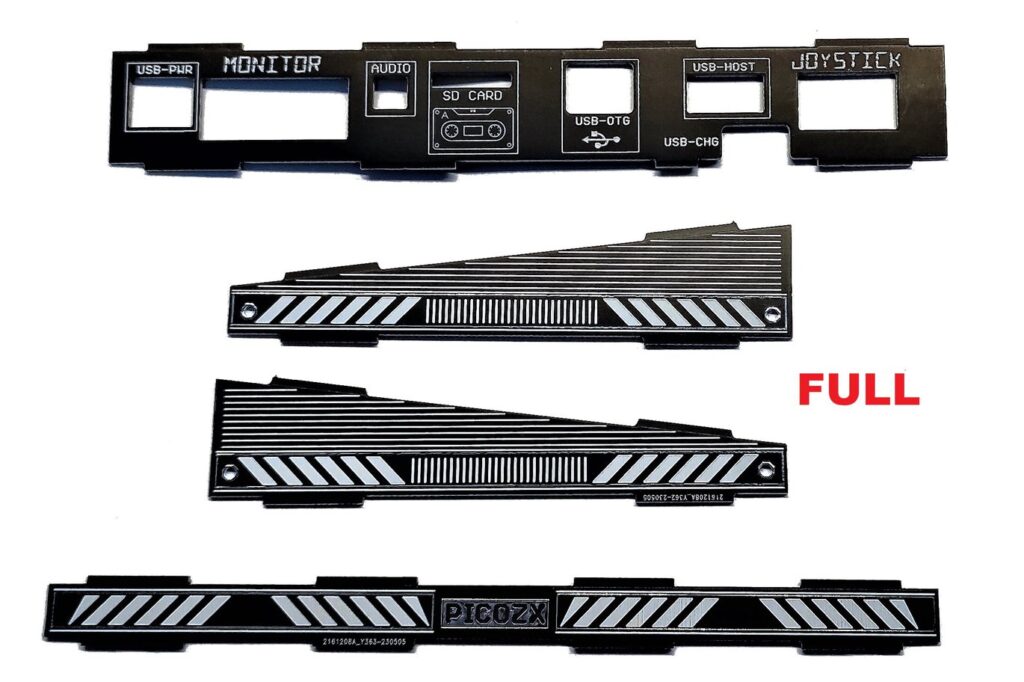
You can find it fully assembled or as bare PCBs to build yourself, and there are two versions, a slim one and a full one. The slim version has microSD card support and the battery charging connector. The full version also has room for a DB9 joystick connector, a USB socket and a VGA connector.
There are also other versions by other users, made with a single PCB or with different features. The board is well suited to the ZX Spectrum ROM, both because of the keyboard silkscreen and because it is very complete and loads almost all games for the ZX Spectrum 48k or 128k.
Where can I find it?
There are several versions of this project; I built the one by Bobricius, and you can find it ready assembled or as bare PCBs. This is the site where it’s sold: https://rfix.it/tindzx Or you can get just the PCBs directly from PCBWAY, again from the project shared by the same user: https://rfix.it/pcbwayzx
Since there are quite a few PCBs needed to build this computer and they’re fairly large, if we get them from PCBWAY the cost starts to add up because the minimum order is 5 pieces, but if you have other friends or sell the spare ones, then it’s worth it. The price for an assembled one isn’t negligible, but bear in mind that even building it yourself, with PCB shipping costs and all the components, you won’t manage to stay under €110-120
How to build it
If you’ve chosen to get just the PCBs, there are two versions of this PicoZX: one is the slim and the other is the full one. As mentioned before, the differences are in the height of the device: one stays flat and low, while the other is sloped, with the back higher to fit the Joystick, VGA and USB connectors.
It’s best to start with the central PCB, on the bottom side, and then fit the components on the top side with the buttons etc. I’d leave the LCD until last; in the end you only need to solder the flat connector onto the pins. If you use a different type of display, you’ll need to solder it onto the pins underneath it.
Sourcing the components isn’t difficult, but you won’t find them all at the same supplier, so there will be several shipments. I found the main ones on Mouser and the rest on Aliexpress and Amazon.
Component list
> To assemble either the Slim or Full version you need these components:
Now that you have all the components, watch how to assemble them!
The build isn’t difficult; assembly takes a bit of patience to get the buttons at the right height, and we have to fit the PCBs together, also adding the spacers for the other parts.
Once everything is assembled you can move on to programming, which is very simple: press the button to put the Raspberry PI Pico into DFU mode and connect it to the computer, then copy the firmware file to the drive that appears on the PC; the RB Pico will reboot, and at this point we can disconnect it and power the whole board from the battery or from the USB-B socket if fitted.
Depending on the firmware used, follow the instructions to create any folders needed on the microSD and put the files to load on this little handheld emulator.