

TED in FPGA for the Commodore 264
24 September 2025
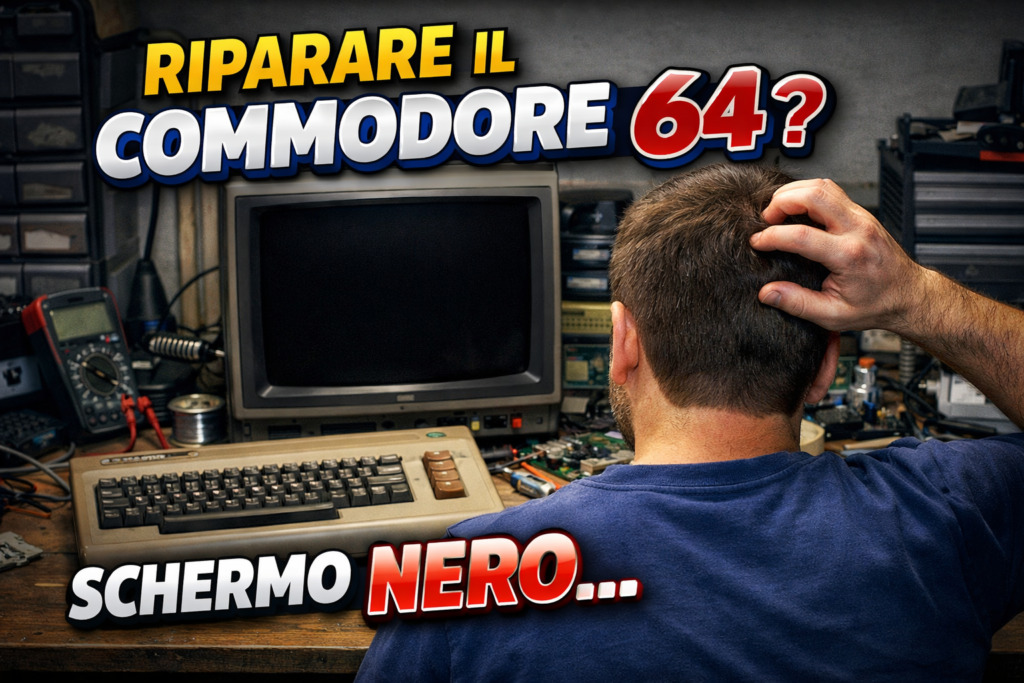
Repairing a Commodore 64 with case mounts
1 March 2026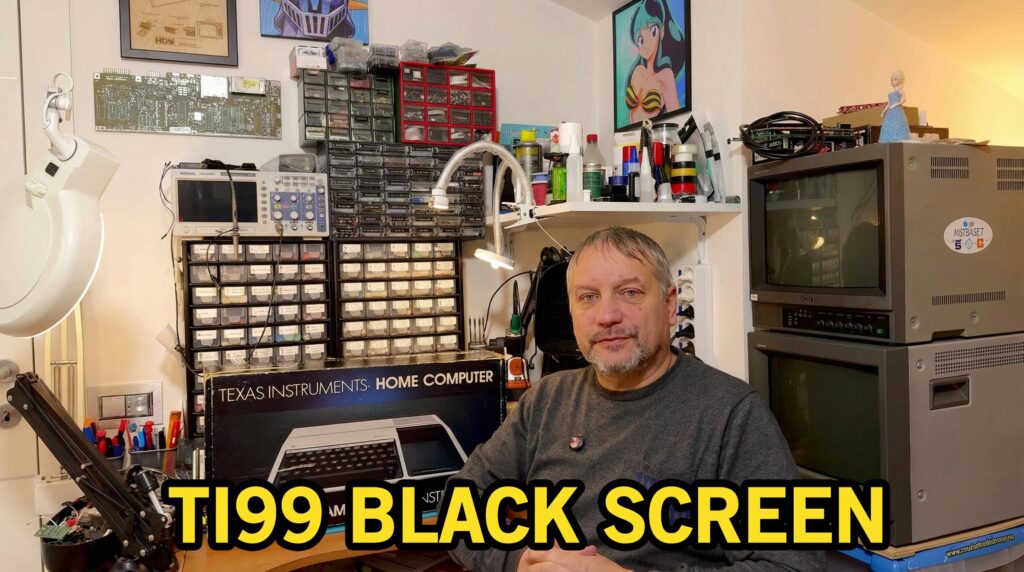
 Initial diagnosis
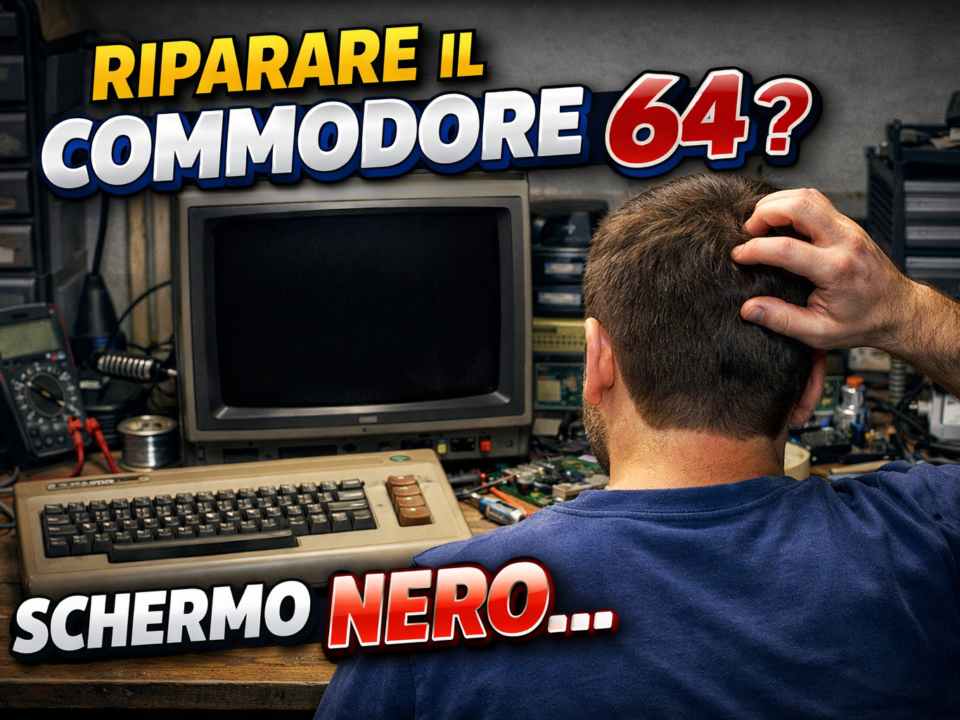
When the computer powers on and doesn’t get past the black screen, it often means that the start-up routine can’t proceed; the constant tone indicates that the sound chip is active but the system isn’t progressing through the boot. This behaviour is also documented in other similar restorations and is often linked to problems with:
Corroded contacts or chips not properly seated in their sockets
Faulty video RAM
Clock or power supply problems
Faulty ROM modules or CPU
 Disassembly and inspection
The first step in the video is disassembling the TI-99/4A case, removing the bottom screws and separating the top panel.
Then you need to remove the keyboard ribbon cable, the power supply screws and 3 of the motherboard screws. Once that’s done, all that’s left to remove is the shield, which is held by 3 screws with their nuts and two metal clips on the edges. Then we check:
The +5V, +12V and -5V supplies
Visual check for any corrosion, oxidation or burnt components
Check that no chips are getting very hot; the sound chip should be warm but not scorching.
These basic operations, though simple, can often solve many problems.
 Focus on the critical components
The TI-99/4A uses several integrated circuits that are crucial for booting:
CPU TMS9900
VDP (Video Display Processor)
System ROM
4116 video RAM
CPU RAM
These are the first components to come into play during the early stages of initialisation; if the computer emits a constant tone it means it has hung before the sound chip was initialised, and the causes are often to be found among the ROM (2 chips), the clock and the CPU RAM (two chips near the ROMs).
Unfortunately there’s no silkscreen on this board, so you need to pay attention to the orientation of the chips and consult a guide to identify the ICs if needed.
You also need to be careful when resoldering components, because there are traces running between the IC pins that have no solder mask, and if the solder is a bit generous it can easily touch the adjacent trace, causing an accidental short.
In my case the problem was indeed the system ROM, the low one, but to find it I followed the guide and it led me somewhat astray, because a signal was missing on the VDP and it pointed me to check a 74LS138 that was actually fine.
 Cleaning and servicing the keyboard
In my case the keyboard wasn’t the classic one with square switches, but uses plungers similar to those on the C64 that press onto a membrane. Really over the top: the slightest problem is enough to stop a key working. Someone has made a PCB that uses mechanical switches instead of this strange cascade system.
Another version of this keyboard uses square switches that close a contact inside them, and this solution seems more reliable.
You can find the PCB for the new keyboard here:
KEYBOARD_4A_PCBWAY
hackaday.io
 Conclusion: what to expect from a restoration
Repairing a TI-99/4A isn’t always straightforward, but by following a methodical approach as shown in the video:
Disassembly and visual inspection
Testing power supplies and clock signals
Checking memory and critical chips
Progressive testing at each step
you can solve many of the most common problems, including the black screen at boot. Don’t be discouraged: this computer has somewhat convoluted logic and it isn’t easy to find your way around without a silkscreen, but luckily spare parts are available and they aren’t expensive.