What started as a repair ended up as an upgrade of the machine, with a new operating system that even goes beyond its capabilities.
The Atari ST1040 I picked up is in excellent cosmetic condition and not yellowed, but it has a problem: it won’t switch on. This can be a good sign, because it means the problem should be in the power supply and maybe the computer itself works.
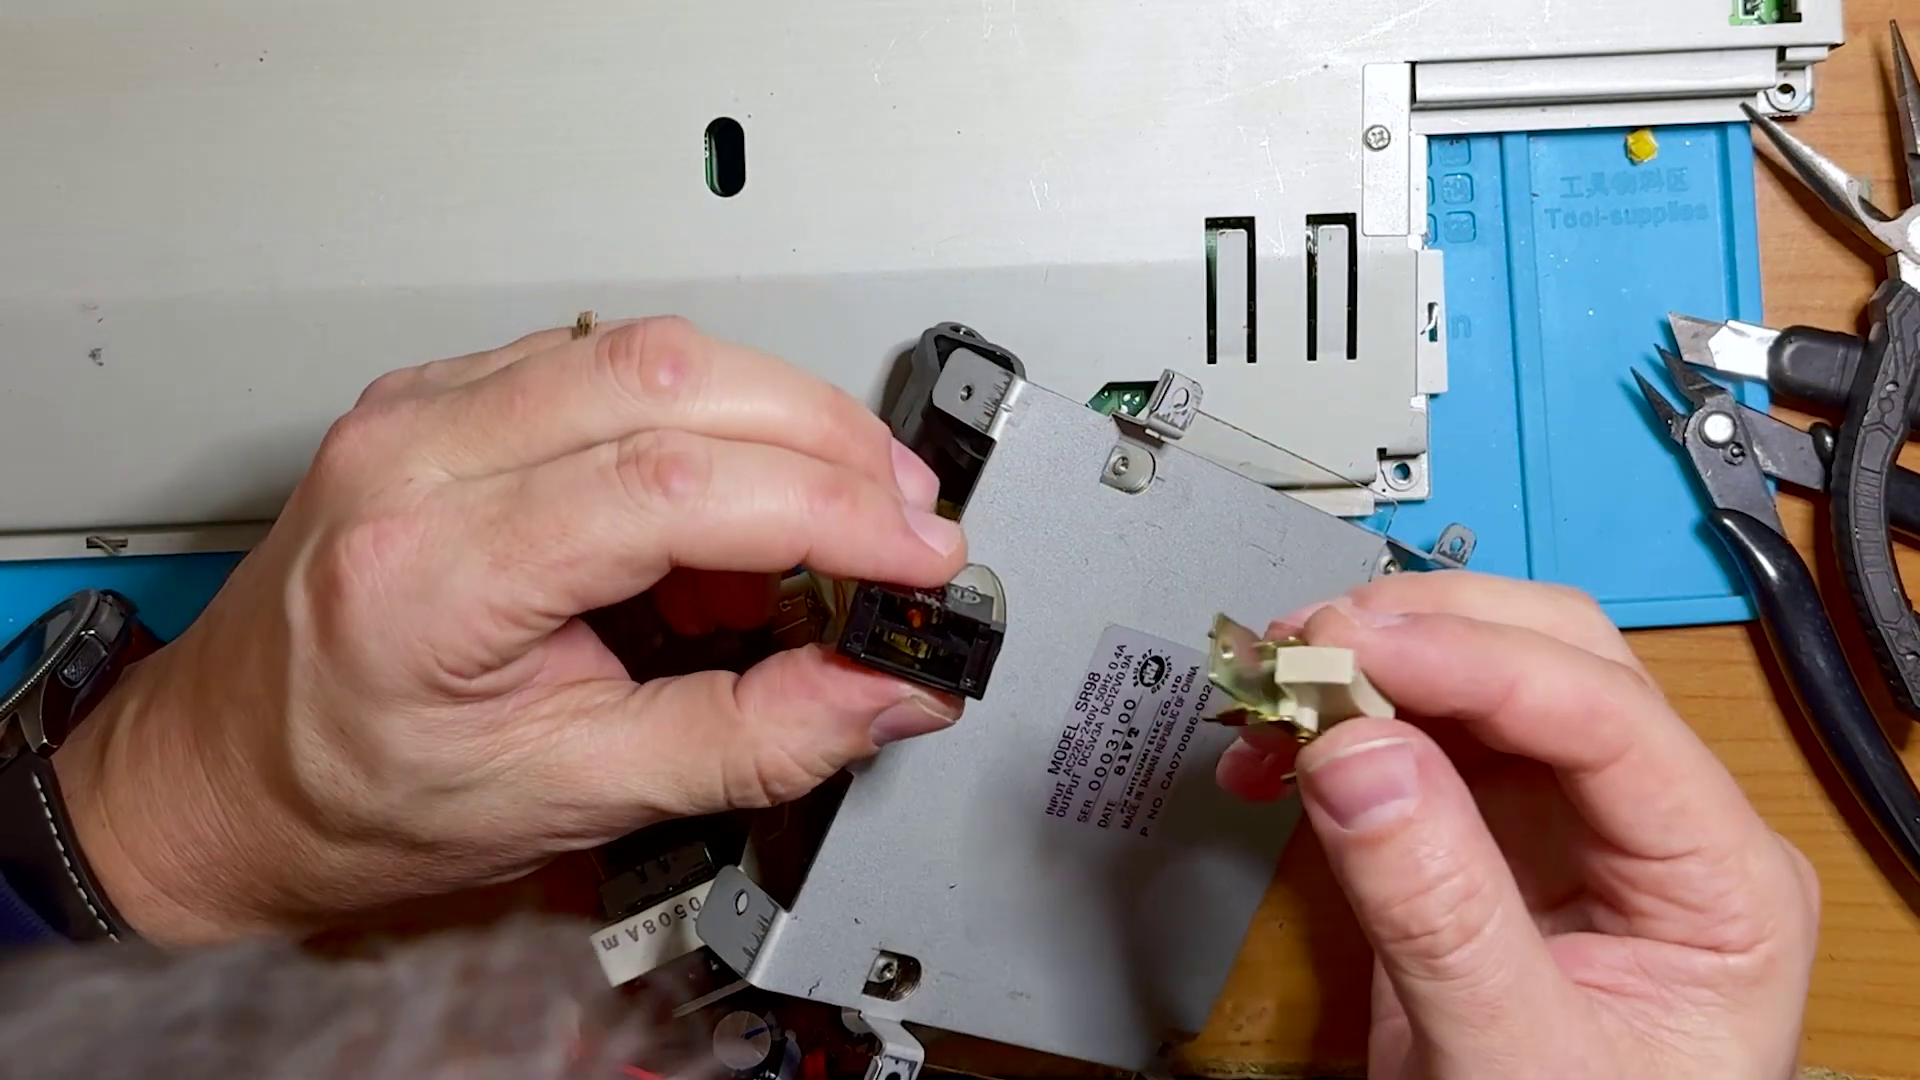
After various tests I notice that no power reaches its power supply, and the problem is definitely the power switch. It has two contacts and one of them no longer conducts. Repairing it isn’t difficult: you need to bend up the metal parts that hold the switch together so you can open it and get to its contacts. The switch blades are in fact all corroded; with patience and isopropyl alcohol you just need to clean the contacts well and remove the old grease. If that isn’t enough, you’ll need to scrape off any traces of oxide or dirt. Once everything is clean, just apply a little grease and close it all up again.
Now the switch works and the computer powers on.. IT WORKS!!
Yes, but as luck would have it I only have a composite cable for this computer, and it doesn’t work with the model without a modulator.
In fact the Atari 1040s fall into three groups: STF, STFM, STE. The basic one is the 1040F, the one I have, and it doesn’t have the modulator with the analogue section, so there won’t be any composite signal on the AV connector. The FM version has the RGB > composite converter and the RF modulator. Then there’s the STE (Enhanced) version, which has hardware improvements, improved audio and a Blitter for graphics.
After getting an RGB cable I found that the 1084S monitor had stopped working with RGB signals; well, more time wasted..
In the end the computer was tested and working, both loading from floppy with its original drive and with the TOS 1.0 built into ROM.
Now let’s move on to the interesting part.
Changing the TOS version on an Atari
On the 1040 F there are 2 ROMs and 4 banks where ROMs can be fitted. These are configured via jumpers on the motherboard, and you can have either a combination of 2 ROMs with the jumpers set to 1Mb or all 6 ROMs with the jumpers set to 256K. The 2 ROMs don’t have the pinout of a standard 1M ROM, so they can’t be replaced without an adapter, whereas the 6 ROMs are standard.
You can download here the TOS images for the Atari; remember that if it’s set to 6 ROMs, we can fit 6 EPROMs (27C256) and the largest image we can load will be 192Kb, so TOS V.1.0.4; the larger ones require a hardware modification to the machine.
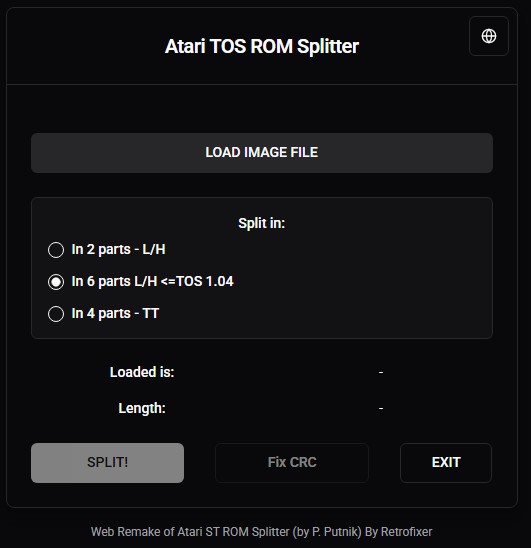
To split the image and create the ROMs to burn, you can use this tool on our site: Atari TOS Splitter Just load the image file and select the 6-way L/H split. 6 files will be created, named after the ROM positions LO0, LO1, LO2, HI0, HI1, HI2, so you can’t go wrong. Alternatively, you can do it with a program written for the Atari and loaded on an emulator, to simplify the whole process without using a physical machine.
But what if we wanted to load a bigger file?
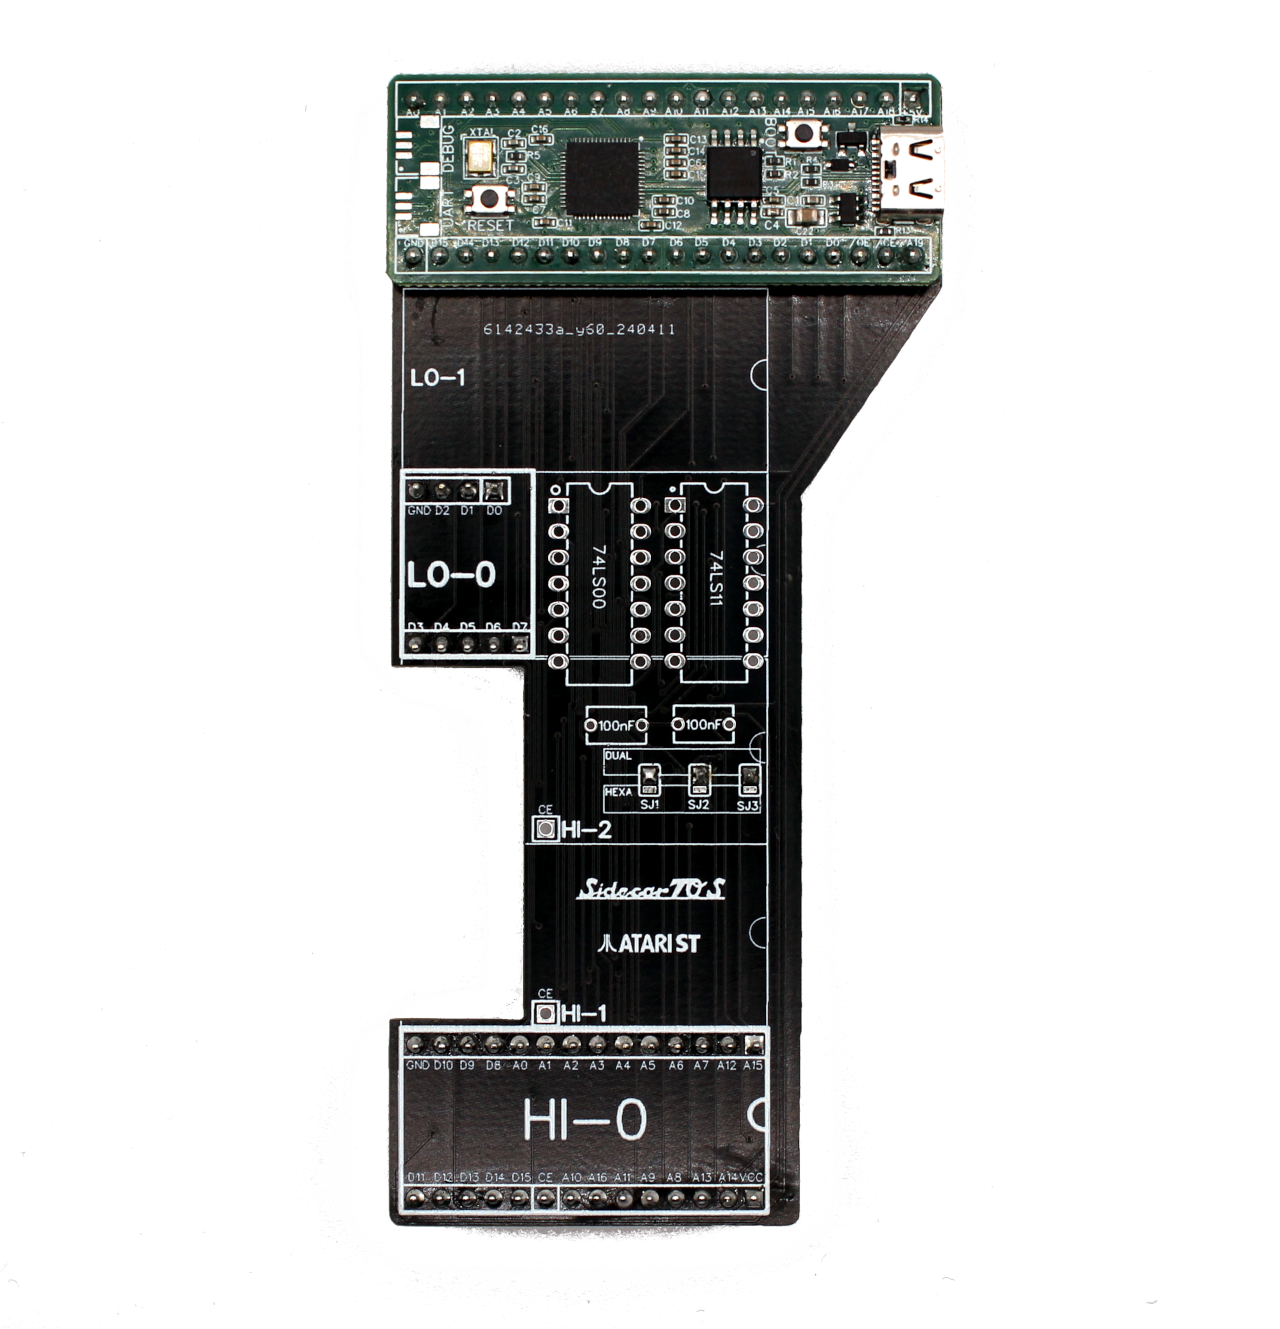
SidecarTridge TOS Emulator
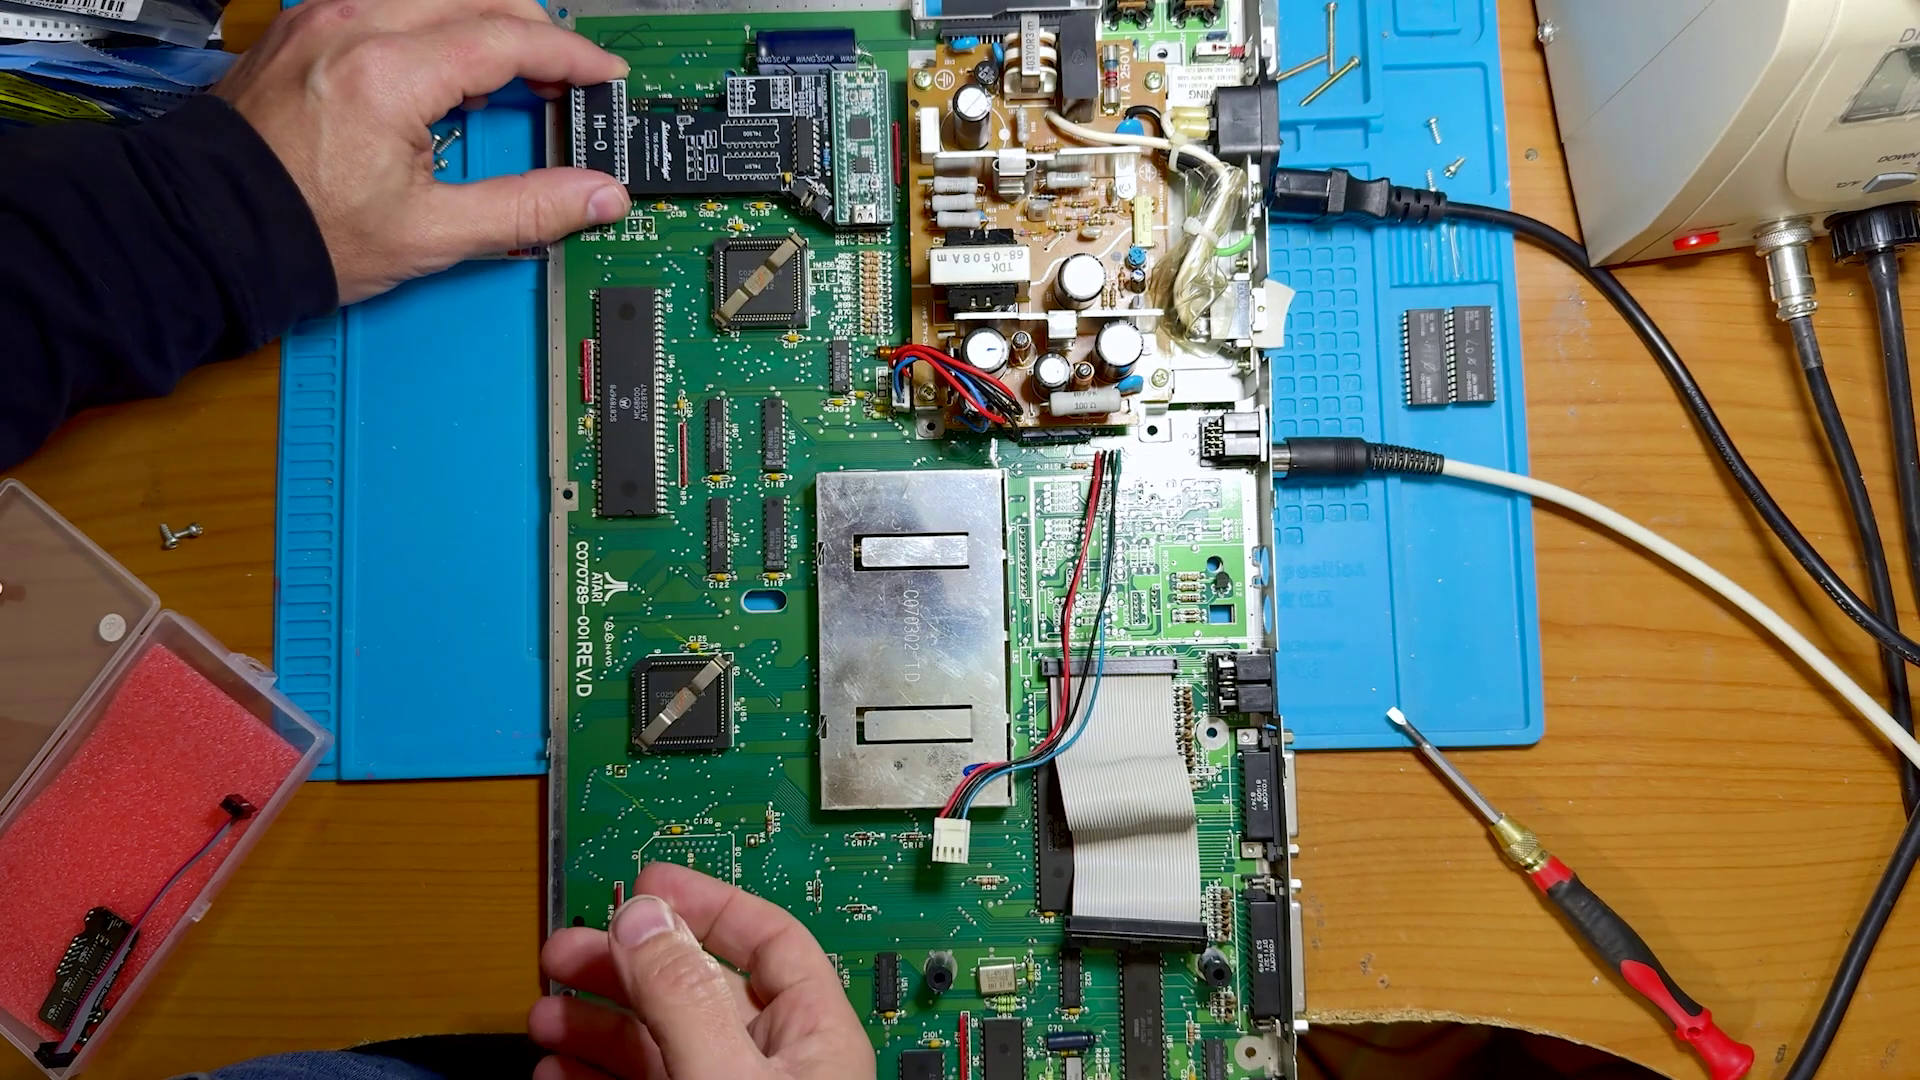
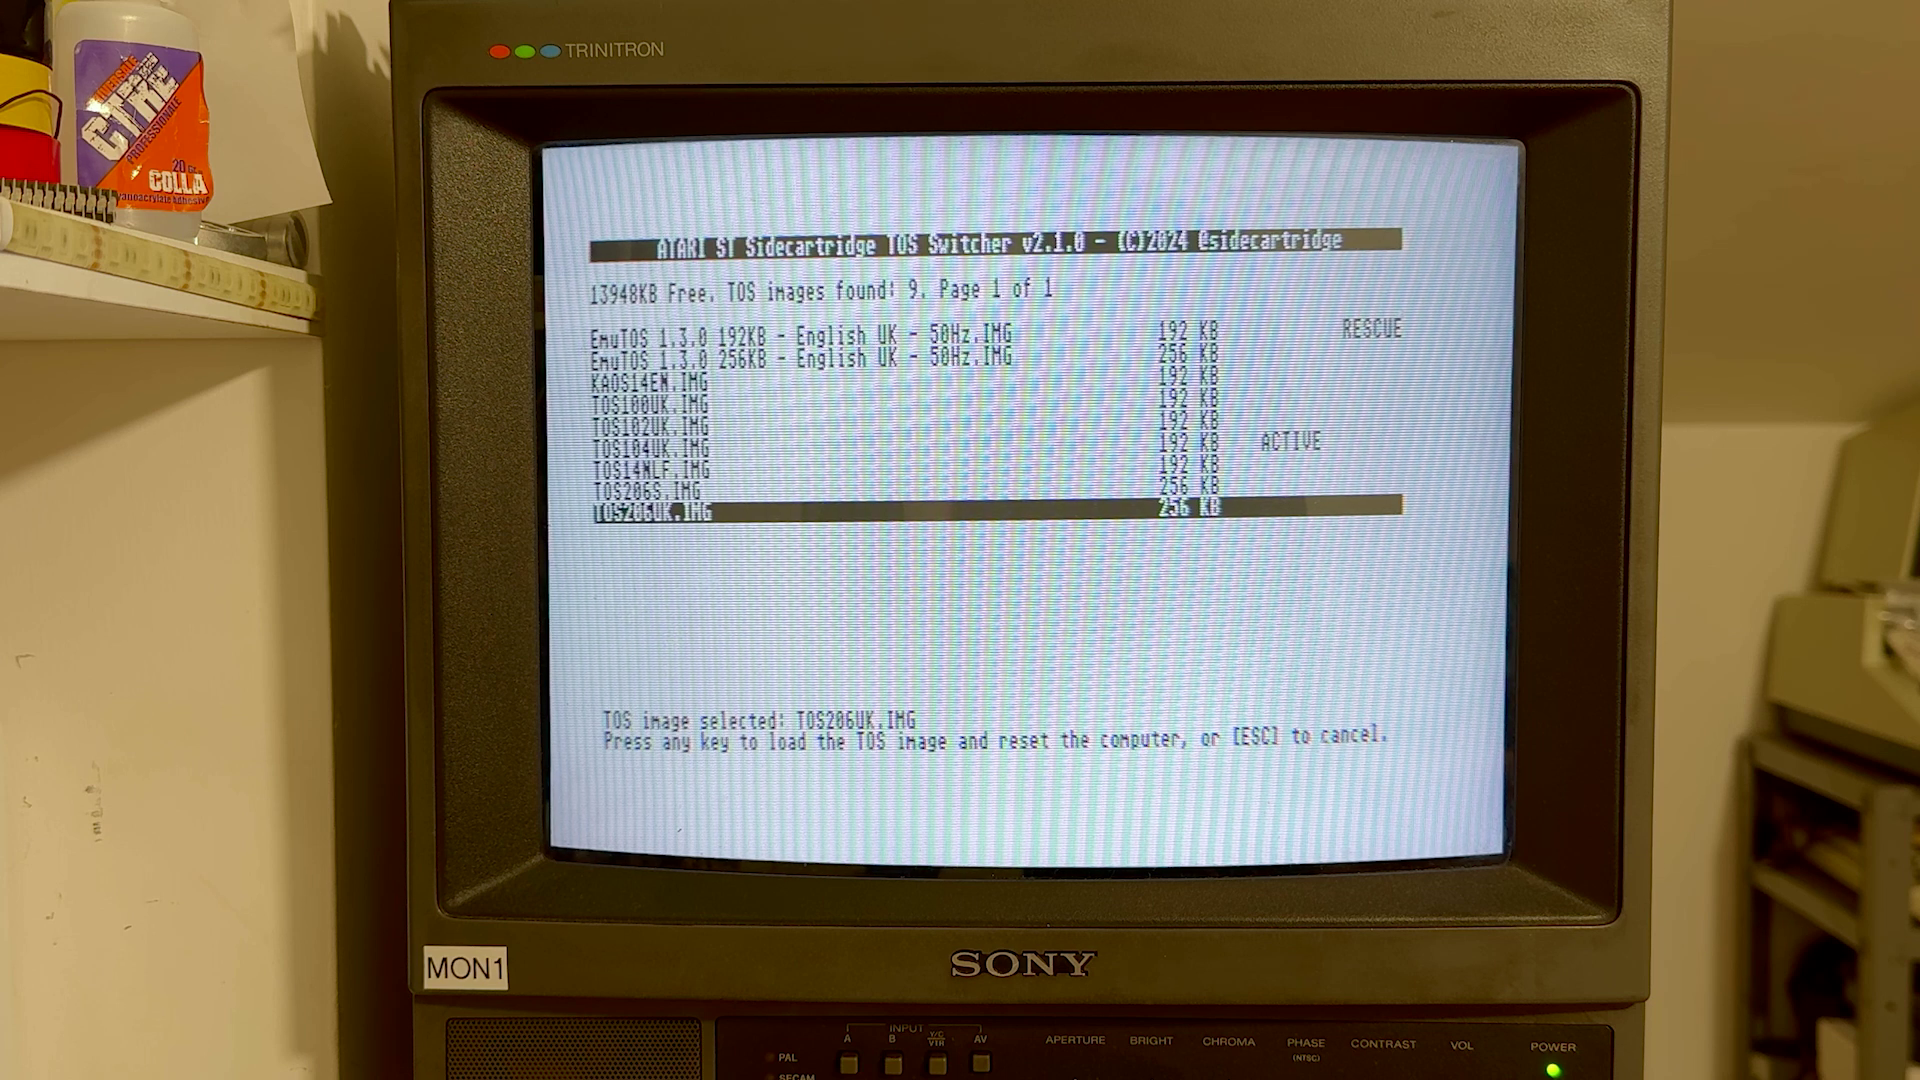
With the SidecarTridge TOS Emulator board we can replace our Atari’s ROMs, as mentioned above, and change version whenever we like without having to reopen the computer; we just need to have loaded them onto the Raspberry Pico beforehand.
There are 2 versions of this board; the one with the adapter that fits over the processor allows you to use other signals not available on the ROM sockets, so you can load bigger files and load all the available versions!
To add the image files, just connect the USB cable to the Pico (not plugged into the computer) and copy over all the operating systems you want to use, as far as your machine supports them. Then, to select a different one, we can use a program run from our Atari, perhaps stored on a HDD or floppy, and once the new OS is selected the machine reboots and that’s it.