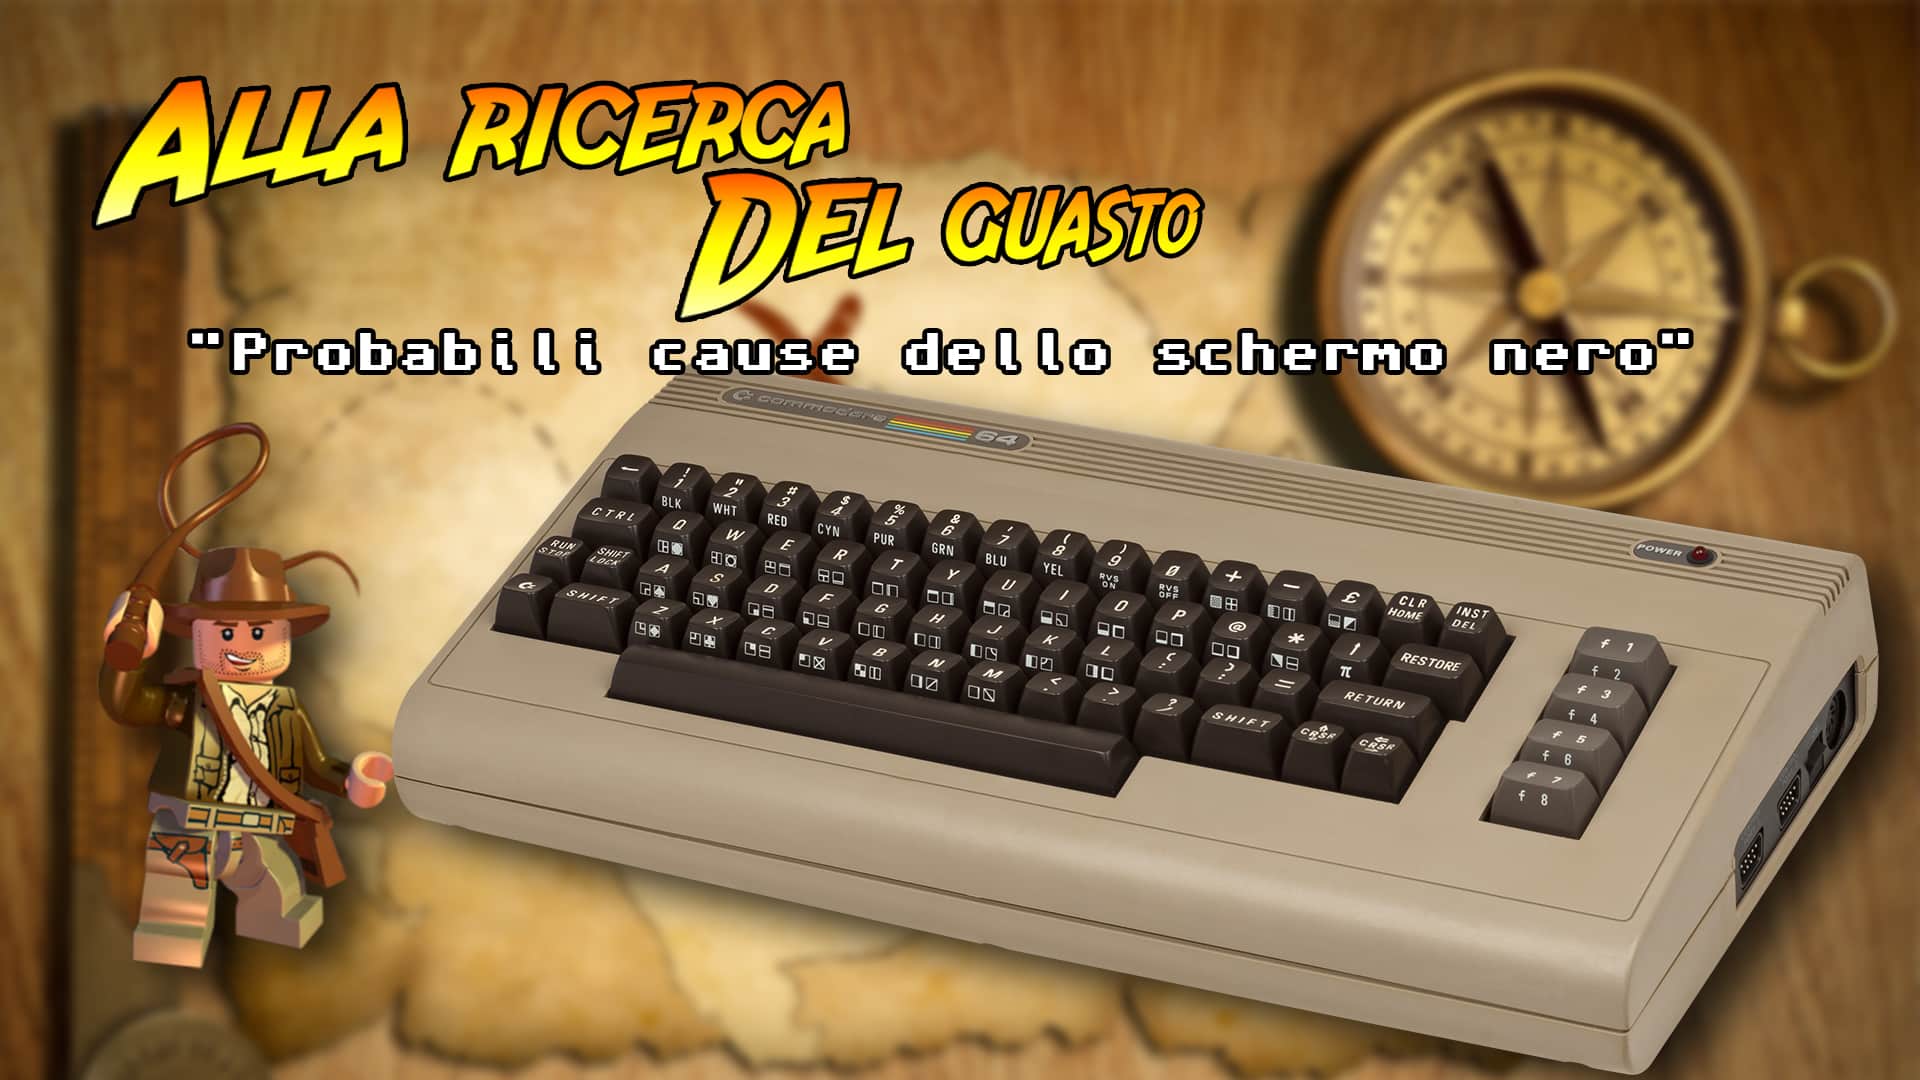
In search of the fault .. Commodore 64 black screen
9 June 2021
Sega Saturn Blue screen
25 June 2021Do you want to spend little? take a broken computer! .. yes but then I have to fix it
We try to repair a Commodore 128D with a black screen. Unfortunately this model of computer is not cheap and if put well the price goes up a lot.
This in the picture is the 128D that I was able to find at a good price, obviously it is not in good shape and they declared that the computer turns on (you hear the fan spinning), the LEDs remain on but no signal.
This is not a good thing for this computer because it already indicates 2 problems:
1 the computer has failed
2 the drive is also faulty!
Yes, because the drive 1571 is also integrated in the 128D case, which has a status LED which should turn on and then turn off after a few seconds, so if it does not turn off it means that the drive is broken.
Watch the video on Youtube to see all the steps!
Subscribe to the channel and activate the bell so you don't miss the next videos.
The video was divided into 2 parts due to a couple of components to be found and above all to be sent!
I don't like making long videos, I think in the end it is boring to see piece by piece what to unsolder etc .. but if you are interested in all the steps write me in the comments what you think. I set myself a time of about 15 minutes up to a maximum of 30 for more problematic repairs.
1> Analisi visiva
Come visibile dalle foto il computer non era sicuramente rimasto in luogo asciutto lontano dal sole e ben imballato 🙂
well, a risk that you have to put against if you want to spend little.
There are signs of rust on the connectors and from the state of the floppy card for sure some water entered the case.
but let's not be discouraged… one thing at a time and let's get to work.
2> Cleaning
Now let's start cleaning all that dirt and remove the rust, the keyboard also needs a retrobright, inside there is a lot of dust and the motherboard contacts are not clean, so let's give the board a good clean with isopropyl alcohol.
For the retrobright I want to use a different system to avoid staining the plastic as it will have to stay in it for a long time given its condition.
I use a 30 vol cream. and I cover the plastic with a film to keep the cream from drying (I usually spread it over and every 20min. I went over it), with this system it is still necessary to massage to re-spread the cream under the film, but it does not dry out. Every 45-60min I added new and spared everything. For the frets I wanted to put them all in bowls with water and 30vol cream. to avoid having to go over every 20min. I only tell you that there have been over 8 hours! unfortunately the cream is not transparent and therefore limits the effect a little, in addition, diluting with water the effect slows down even more. It is necessary to give the container a shake every now and then and rotate it as for plastics. After all the result was acceptable, the keys should have remained a few more hours and above all not all are at the same level, I noticed 5-6 which on the one hand have a more yellowish tone but nothing so evident and compared to before they are improved of the 90% if you want to be precise you should do a second lap, but I'm satisfied !. sometimes better not to overdo it !!
After the plastics, I checked the traces on the drive pcb since it is the worst, but luckily it is only the soldermask that is ruined, so I scratched it and cleaned the traces underneath. I also brushed and cleaned the boards with alcohol, now it's time to go to the test.
3> Test 128

Here is the card of the C128D, as you can see it is the same as that of the 128 but with some small changes such as the connectors for the power supply and drive and a button for the reset of the internal drive.
This card has the classic symptom of black screen, working power supply and voltages ok, a small flash on the screen on power up and no signal. The vendor was giving a possible problem with the video chip, but let's always start from the beginning !.
Since this card is quite complicated because here we find 3 computers in one!
The 128, the 64 and a CP / M, plus two video processors for 40 and 80 columns .. it will be better to rely on the diagnostic manual to not run too quickly.
If you need you can download it here or from the site http://www.zimmers.net/anonftp/pub/cbm/schematics/computers/c128/servicemanuals/
Following the manual you begin to check the presence of the voltage 5v and 12v on the SID (U5), we must find 5v on pin 25 and 12v on pin 28.
Everything is OK!
We continue with checking the reset signal at pin 40 of U6 (8502), reset correct, it is low as soon as the computer is turned on and 5v after 1sec.
Now let's check the clock, we must have 14Mhz on pin 29 of U21 (8564) the VIC .. well here I find 4v fixed! the problem is in the clock part.
I check U28 (7701) at pin 13 and I can't find the frequency, fixed 4v, the problem is localized to the quartz or capacitor C20.
I try to move the variable capacitor and I hear that it makes a noisy noise, for sure it is nice encrusted and I decide to replace it but the result does not change.
At this point I go directly to the quartz and in fact there are no signs of oscillations, I change it et voilà! the frequency is now!
I do a keyboard test to try it in both 128-64 and 80 column modes. everything OK!! what luck, the problem was only the quartz, the rest is all working. I put everything back up to the screen and start testing the floppy.
Unfortunately this has a bad symptom, LED on steady and disk in continuous rotation, but I had already guessed it since I had read the advertisement, the computer with the disk connected does not give the cursor in 128 mode because it waits for the disk to check for a possible CP / M, but since the drive does not initialize everything remains blocked.
4> Test 1571
Now the real problem begins, in testing the card since the tracks were in bad condition, I test them one by one but they are all good, I read some info for the diagnostics of the 1571 (not much is found and the drive card on the 128D is slightly different from the stand alone 1571 drive, so the schematic didn't carry me).
I am putting you the link to the diagram and to the troubleshooting guide:
Warning !, as mentioned above the schematic is a little different from the actual drive, but nothing to worry about ..
For the troubleshooting guide, take it as an aid in trying to identify the problem but it doesn't necessarily have to be! led me astray, if you see the video you will understand!
The drive board had some oxidation marks on the edges and some small tracks, so the first thing we did was to check the continuity of these tracks and clean them to avoid further damage.
Then I checked the chips with the sockets and cleaned them too because some pins in the socket were oxidized.
Following the guide I started to see the rom and I made a new one with an eprom, but it didn't help, the current one was already working.
Checking with the oscilloscope I noticed that the processor (U1) did not show signs of life on the outputs and therefore I replaced it. I tested it with another 1541 drive and actually the 6502 was dead, unfortunately it wasn't enough to solve the drive problem.
Now I had the signals on the processor but the disk kept spinning and the light was always on.
Following the guide I focused on the logic gates that unfortunately for the drive scheme some are joined with other gates and the resulting signal is strange or not congruent with the gate logic. This made me waste time unsoldering a large number of chips which eventually turned out to be working !.
Well, still following the guide I tried on 2 of my 1541 and 1541-II drives all the chips that could give the problem of the disk always working.
damn the guide!
Here on the side you can see the work carried out .. all zoccolato! all the chips tested and obviously I had no chance to test U5 and U11 because they are not present in the other drives. Buying an external 1571 is very expensive and you pay more for it than the whole car I took !!
So with patience I took the components and waited for them to arrive,
unfortunately the WD1772 from the UK took more than a month to arrive .. such a thing never happened.
Well by changing U5 the result did not change, the LED always lit steadily, but this time by removing U11 the drive behaved correctly, while before even without this integrated it did not work.
So now I know for certain that both U5 and U11 are broken.
Nice is not it? as soon as the long-awaited WD1772 arrived I was able to restart the drive correctly, now there is only to give the mechanics a nice clean and lubricated but the most is done.
I forgot one thing, if the drive does not work the 128 does not start because when it is turned on it checks if the CP / M is present and remains so until the drive gives it an answer. In this case, either unplug it or fix it!
Tutto è bene quello che finisce bene, sono riuscito a riparare tutto il 128D e caricare programmi con il drive, che ricordo aveva ben 3 integrati guasti 🙁


2 Comments
Salve,
innanzitutto complimenti per i video pubblicati.
Ho un commodore c64 che ha funzionato fino a pochi giorni fa. Ora si accende ma lo schermo è nero. Come posso contattarvi per una eventuale riparazione?
Saluti
Vito Bianchini
Salve,
trovate il form per i scriverci nella sezione contatti del sito.
oppure scriveteci su support(chiocciola)retrofixer.it
Link Telegram: https://t.me/retrofixer