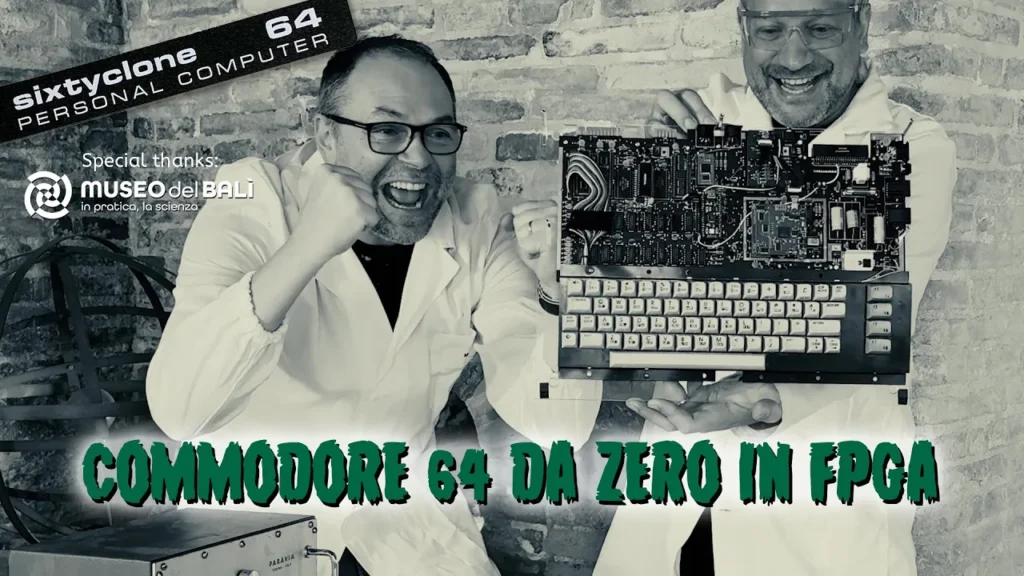
I must thank Marco P. for giving me this Sixtyclone 64 motherboard, a faithful replica of assy 250407.
As you can see here alongside, the board is a longboard and still uses several ICs for clock generation. This board is found in the first Commodore 64 models, in the version known as the “breadbin”.
Later the components were reduced by using custom chips that incorporated more functions.
What to do with a nice board like this? It has to be populated with all the components to turn it into a real C64, but I wanted to do something more! Hence the idea of using a transparent case to show off the board inside, and not only that: since I’ll have to get the custom components, why not get the latest modern FPGA reproductions?!
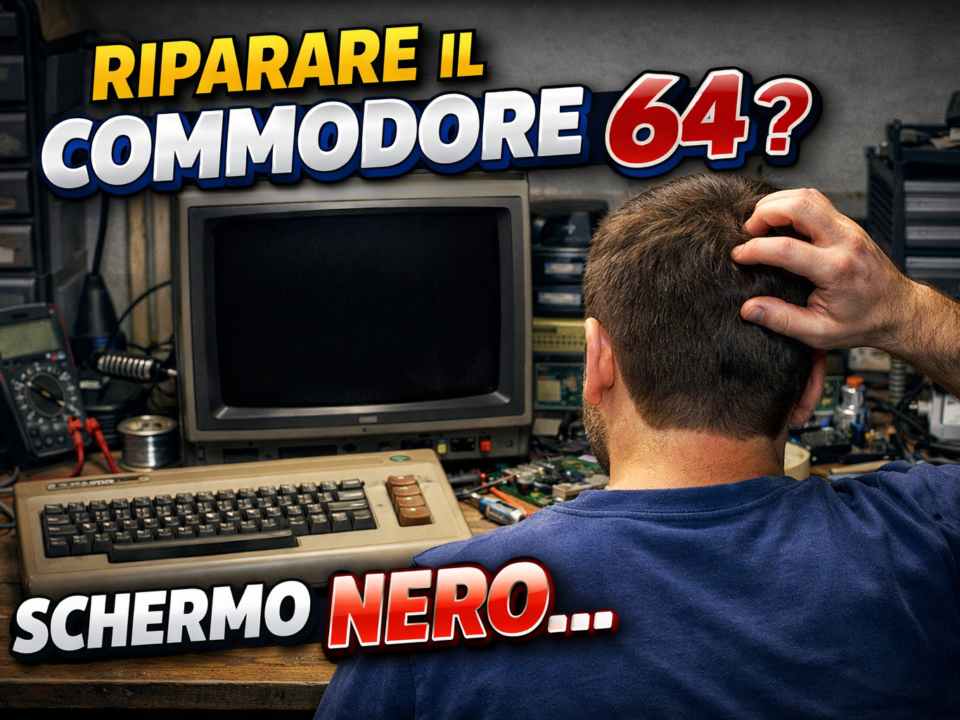
Now that everything is decided, let’s get started.. I start with the passive components, taking them from an old faulty board from another 64; the board was the same revision, so there was no need to check where to put them. The only thing to watch out for is a capacitor labelled C204, which on the real board isn’t there or at least isn’t fitted. Having first removed all the 100nF capacitors and fitted them to this board without physically checking the positions, I populated this C204 by mistake; in fact, at the end I was one capacitor short and used a new one. The problem you’ll then see in the video is that this capacitor must not be fitted, and if anything it was probably intended for a much smaller one: with a 100nF the CAS select signal on the RAM disappears and you get a lovely black screen!
Once all the passive components have been moved and the sockets and connectors fitted from the old board, all that’s left is to fit the custom chips.
MOS 6526 clone. Complete logic and all the functions of the original ICs implemented. All diagnostic and software tests passed 100%, including all the tests in Wolfgang Lorenz’s test suite and the Vice project’s CIA tests. Hundreds of demos and games already tested, with no compatibility issues known at the moment. Physically it’s roughly the same size as the original CIAs.
MOS 6510 clone. FPGA-based replacement for the MOS/CSG 6510 and 8500 CPU chips. Lower power consumption, less heat! In fact, none at all. Complete logic and all the functions of the original IC implemented, including illegal opcodes for maximum compatibility with all your favourite games and demos. All diagnostic and software tests passed 100%, including all the tests in Wolfgang Lorenz’s test suite and the Vice project’s CPU tests. Hundreds of demos and games already tested, with no known compatibility issues in a great many different configurations.
MOS 906114-01 clone. The most beautiful PLA replacement chip there is. Designed by Pasi Lassila, and the chips in this shop were made by the designer himself. Compatible with all longboard revisions and all types of cartridges (Zaxxon, Epyx Fastload etc.). It needs less power and doesn’t overheat.
MOS 6581/8580 clone. The SID-Kick Pico is an inexpensive but high-quality alternative for replacing old 6581 or 8580 SID chips. Based on a Raspberry Pi Pico and ReSID emulation, with the addition of numerous extra features, this solution is truly remarkable. It drops straight in and emulates the 6581 and/or the 8580. ReSID emulation with an additional Digiboost option for the 8580. RP2040 chip and DAC integrated on the PCB (no more piggybacking on a Pi Pico board, so a much smaller and neater footprint). Stereo and FM options, including stereo spacing.
MOS 6567/6569 clone. This board is available in two versions: a large one with HDMI output and RGB support, but it requires removing the shield over the VIC section, and the modulator may also get in the way when plugging in the micro HDMI cable. The second version is more compact, but this one too might touch the metal edge of the video shield: either use sockets to raise the board or the metal must be removed or cut. This FPGA clone offers many other advantages, such as the ability to handle higher-resolution images, switching the emulated chip from PAL to NTSC via software alone, and other interesting features like handling the clock directly from the VIC board. The only drawback I found is the incompatibility with my Sixtyclone, but it could be an issue related to my revision, which is about 2 years old.
For the Kernal I used a multi-Kernal ROM managed by an ATtiny25, so I can switch image by holding down the computer’s RESTORE key for a few seconds, while the other ROMs such as BASIC and character are original.
The result was very satisfying: a fully working computer with a new look. The case I used is this transparent one: it’s cheap, shows the board off nicely and uses the keyboard at the bottom, leaving more of the board exposed: www.plexilaser.de