The simplest system that does not require anything at home is obviously to buy a PCB from a company that produces them. The times and the costs may differents from manufacturer to manufacturer, but nowadays they are at an affordable price compared to the past.
First let's see the production times and the various options for creating a PCB.
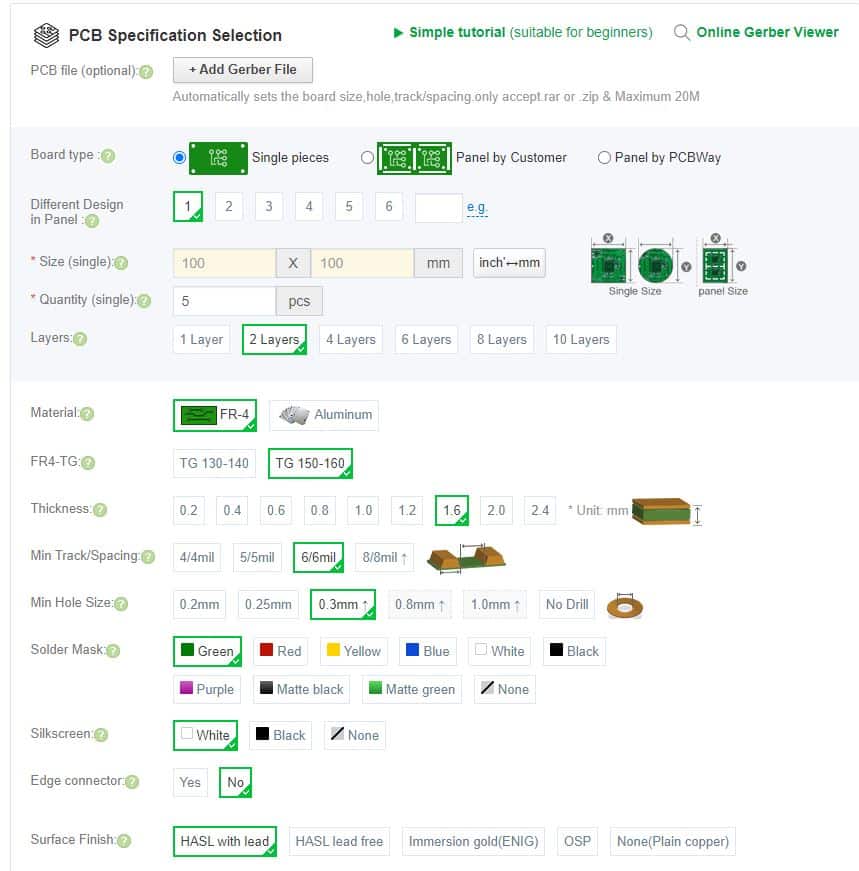
The thing is very simple, you can know in advance how much your PCB will cost by entering the measurements, the number of layers and thickness of the board to be made. If, on the other hand, you already have the gerber ready, there is no need to enter the measurements, just go ahead and go to quick-order PCB, select the gerber file, the dimensions and the holes and distance of the tracks will be automatically picked from the drawing. At this point all that remains is to select the quantity to be produced, the number of layers, the thickness, the color and the other customizations and that's it.
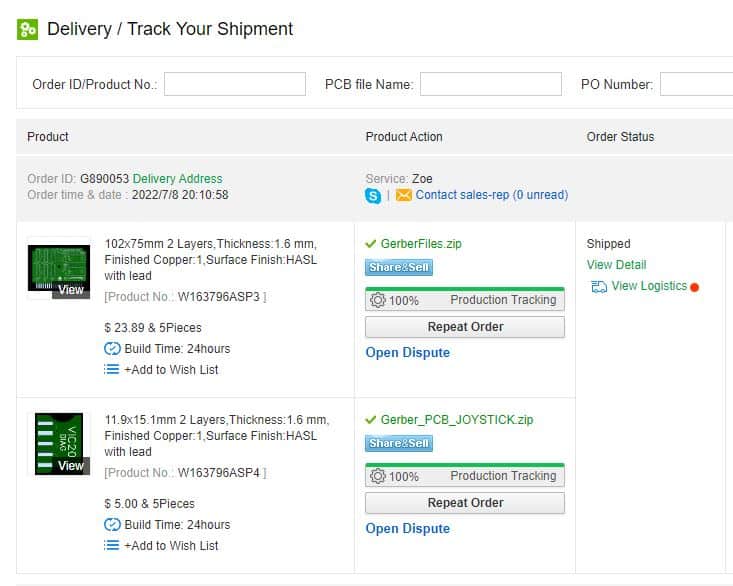
Now let's see what I ordered. I must say that the production was very fast, in 24h both gerbers were produced and the next day they left with the courier. For shipping you can choose between different couriers based on the cost and speed of delivery.
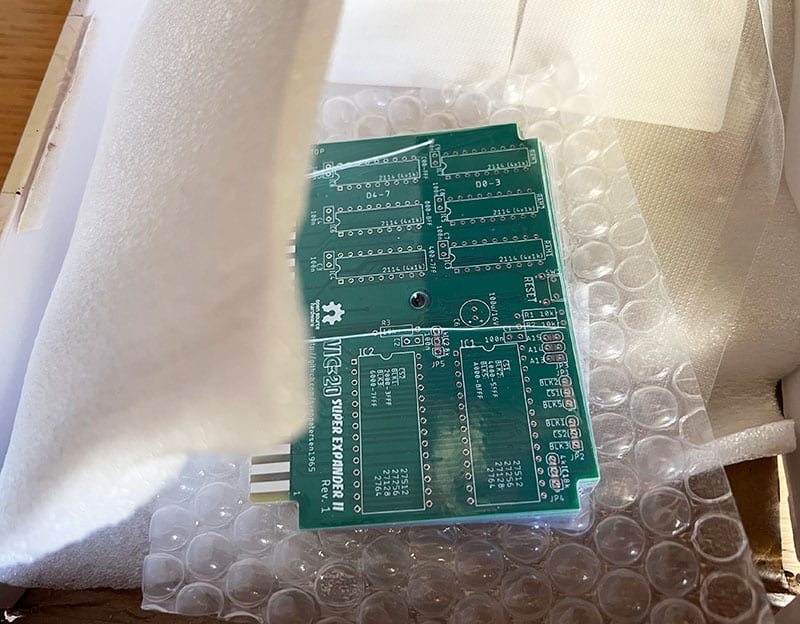
Now that they have arrived let's see the quality with which the PCBs has been produced:
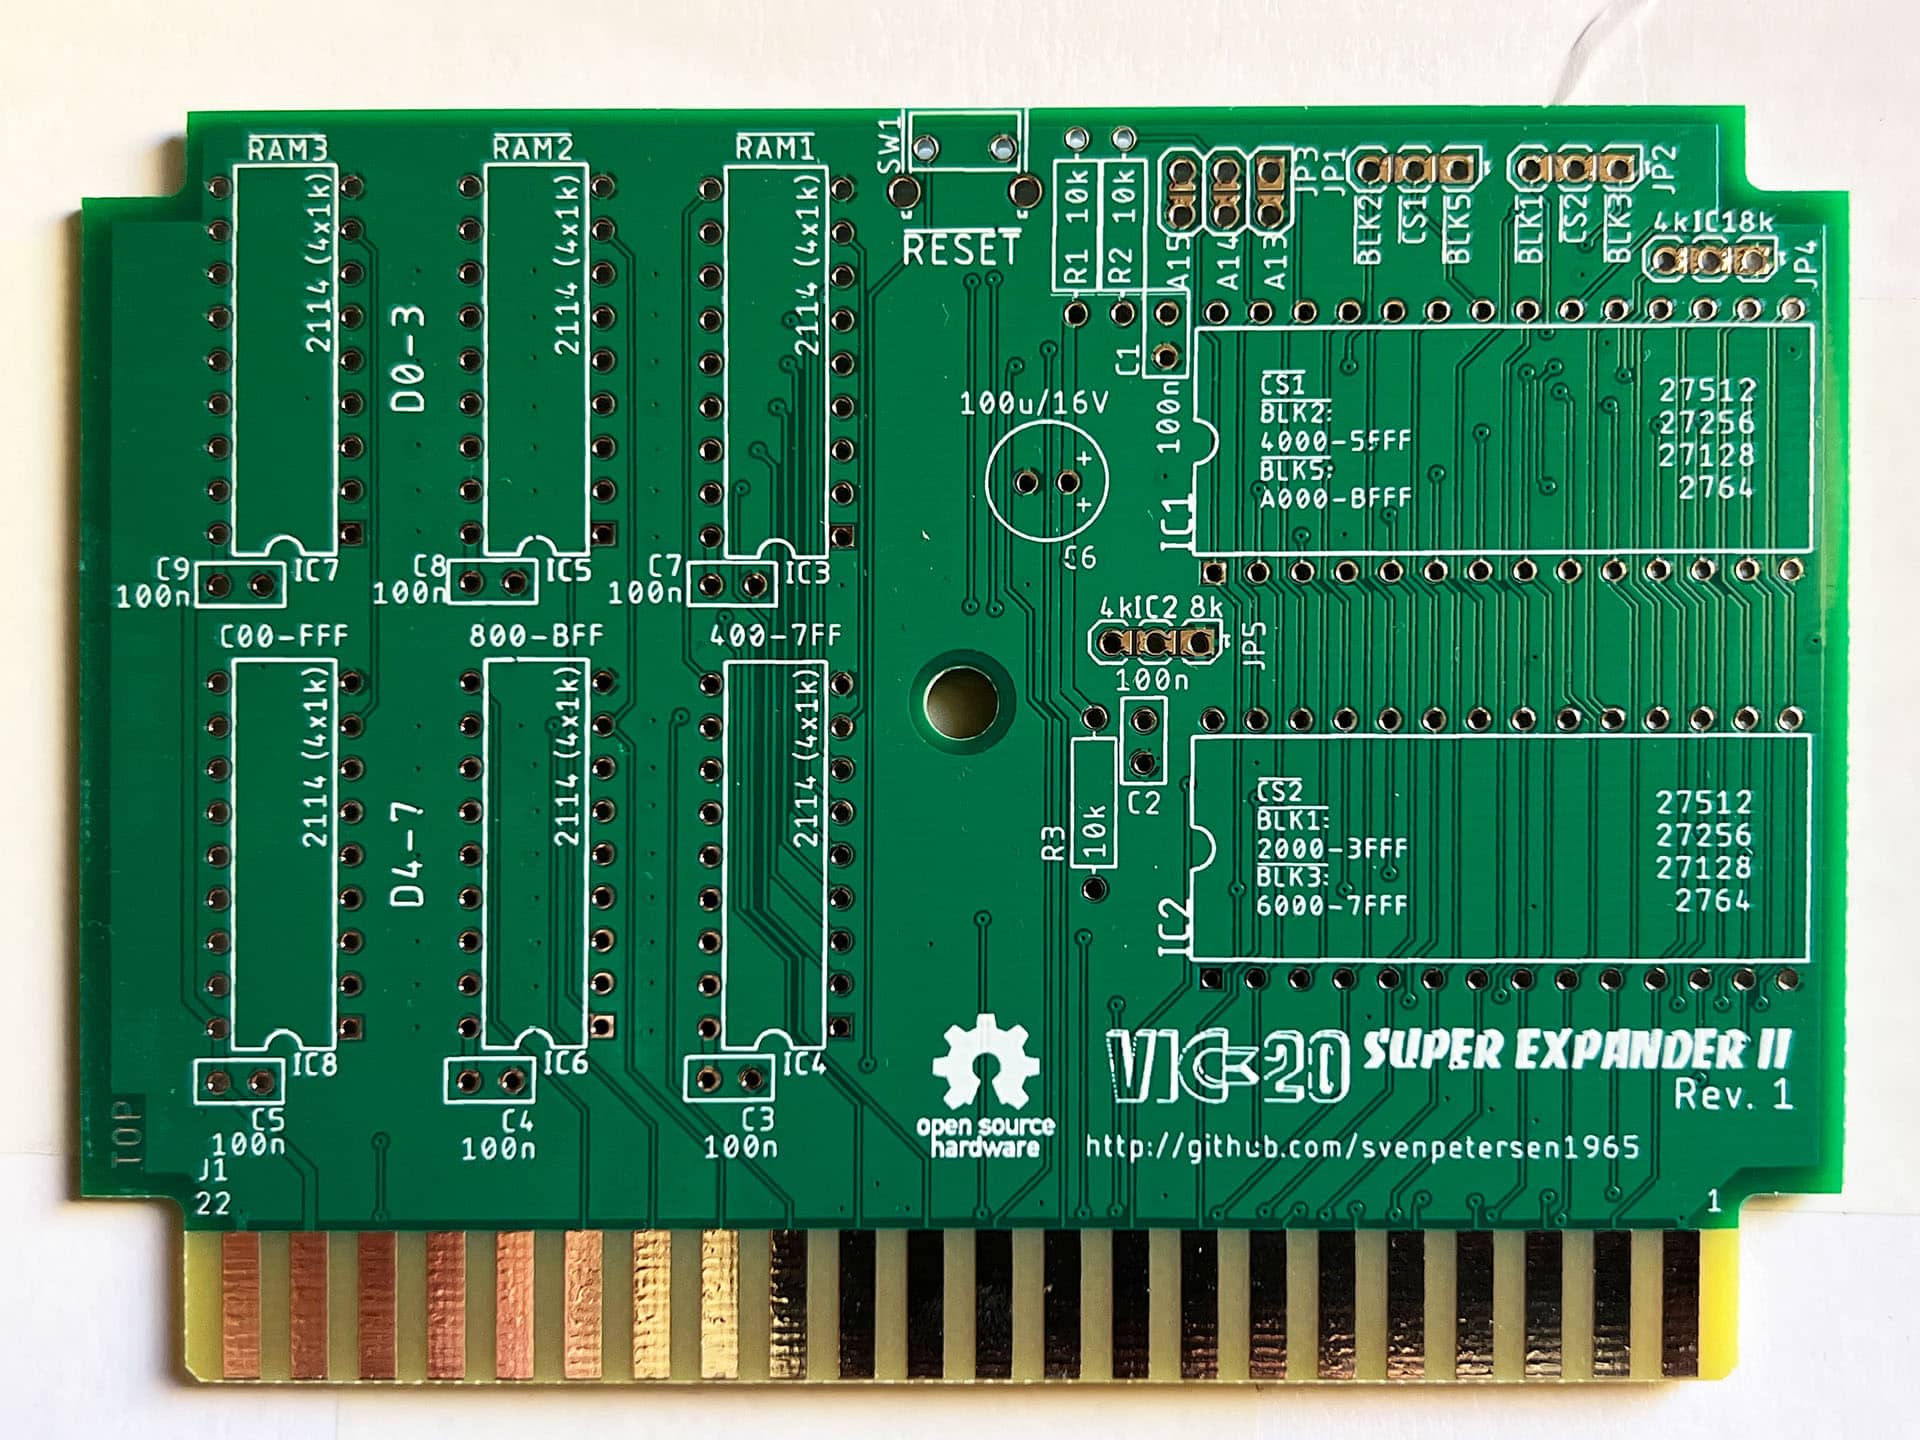
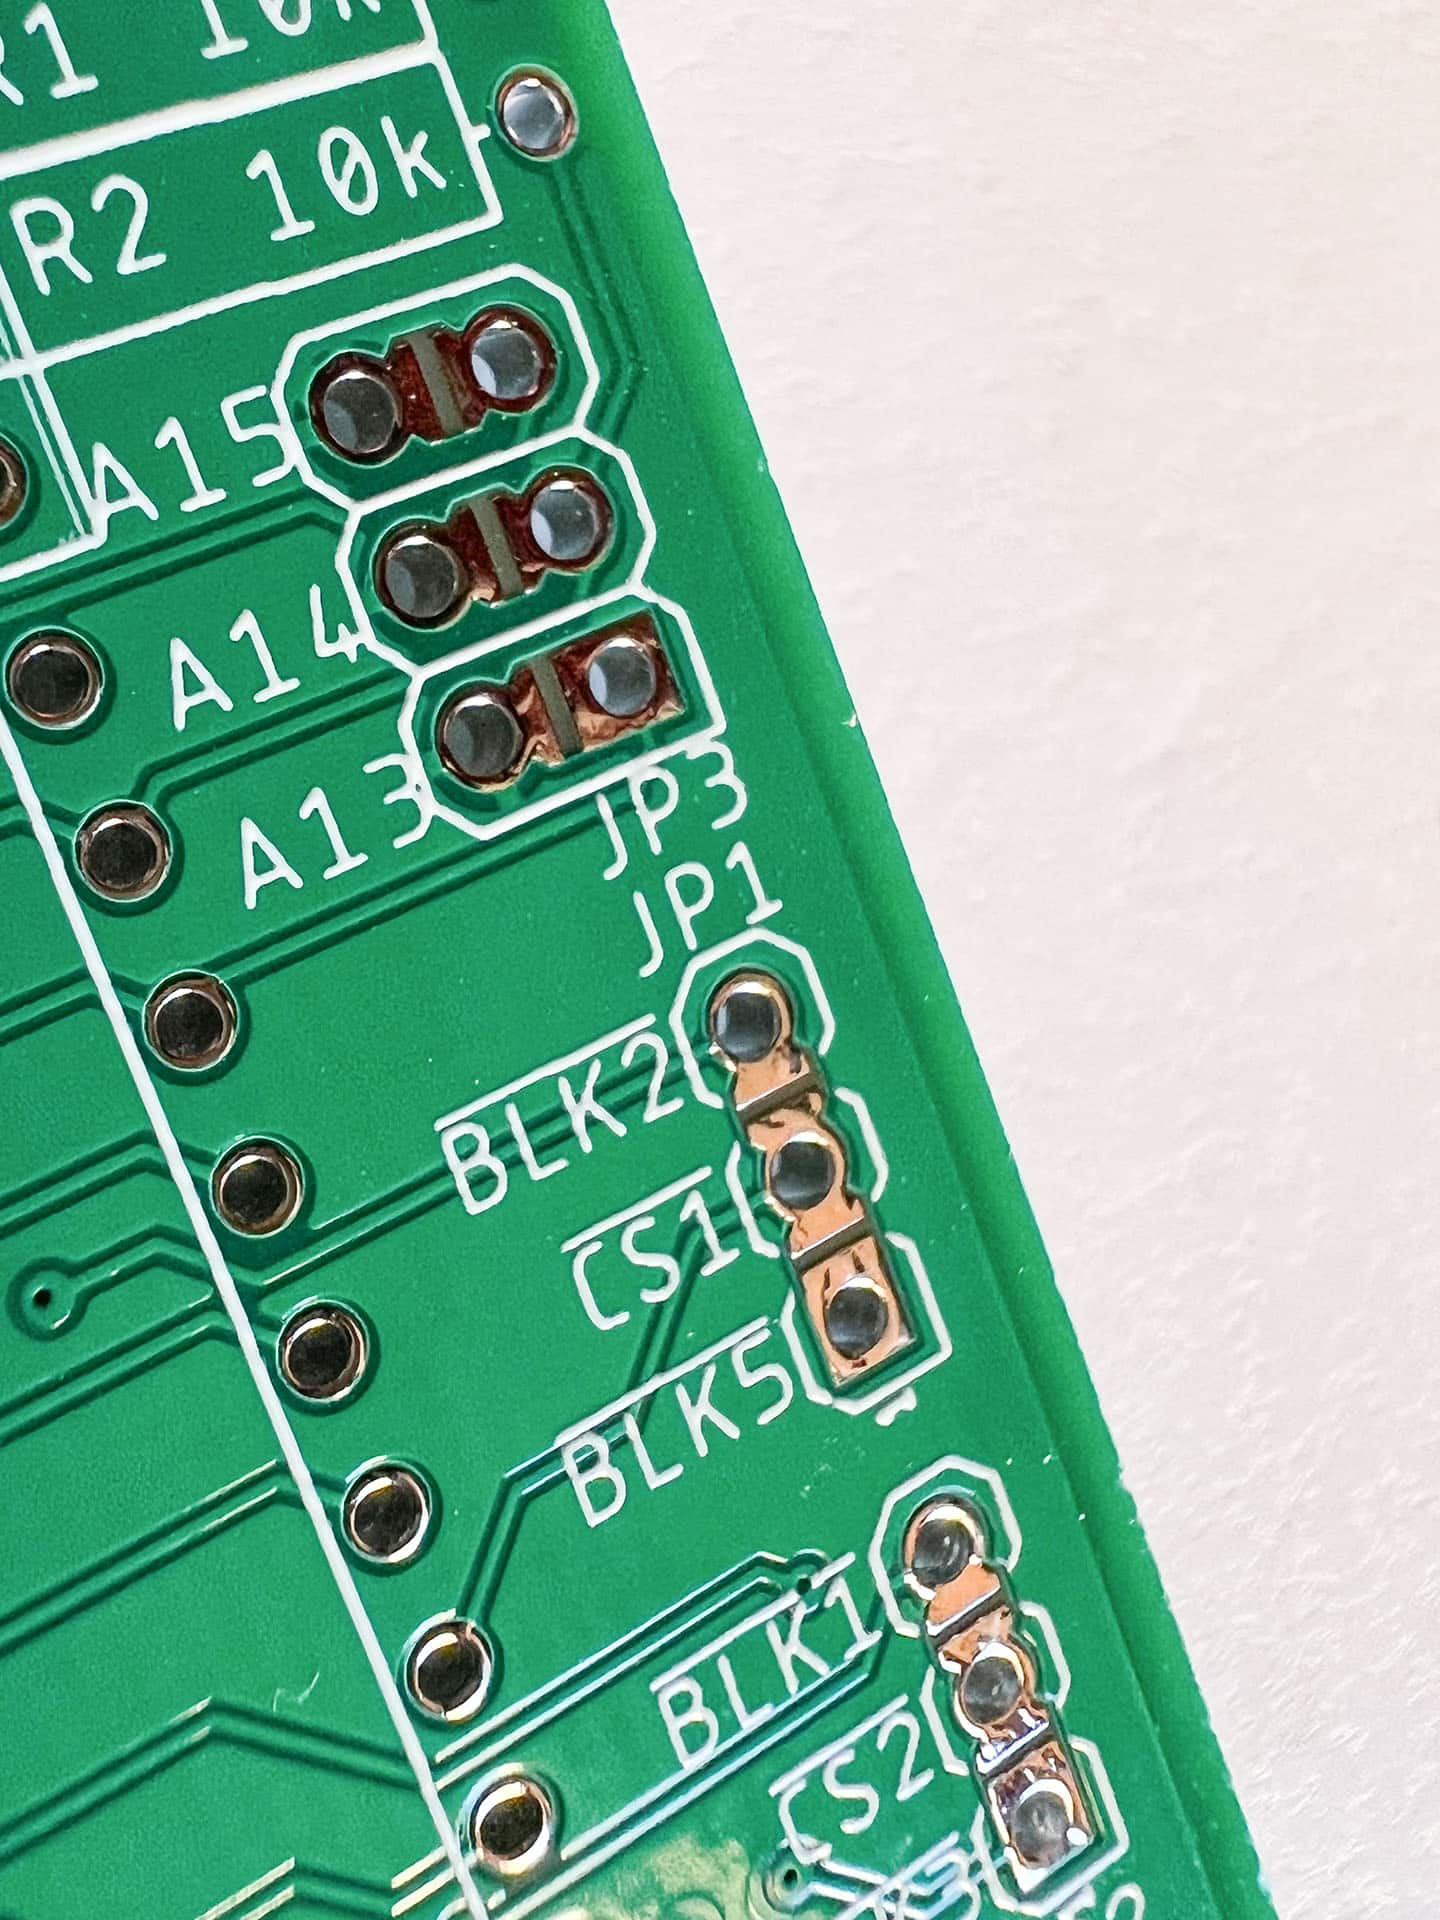
I am very satisfied with the work done, the cards are precise, clean without any defects. The screen printing is well done and the processing label has been placed in a corner that does not bother and has a very small size, so small that you cannot read it with the naked eye, certainly it will not bother you but if you want it is always possible to remove it in the configuration phase. The soldermask has been well applied, there are no uncovered tracks or uneven areas, the diameter of the holes is also accurate, the vias on this PCB are very small and the inner hole may not be perfectly centered (it has happened in very few cases) but it is well within tolerances and is absolutely no problem for operation.
In conclusion, I can only recommend this manufacturer for the excellent job done.
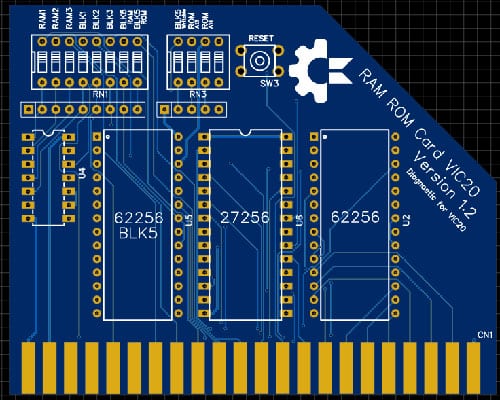
I will soon be making this cartridge for a test of a VIC20 repair, sign up for Youtube channel and activate the bell to not miss the updates.
and discover all their services, not just on PCBs.
Take a look at
and discover all their services, not just on PCBs.
Homemade PCBs
Hand made with pen
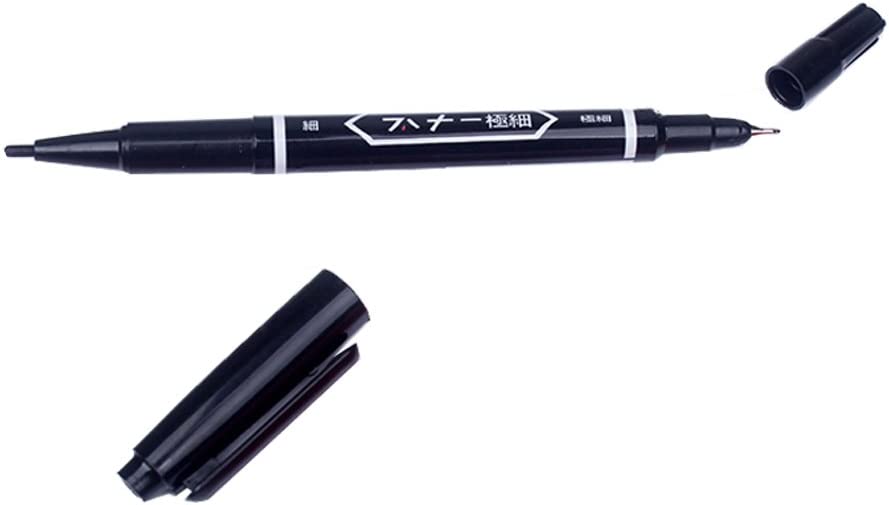
Once there were several methods to make PCBs, the simplest was to use a pen with an acid-resistant ink so as not to corrode the copper underneath.
What you need: To use this method you need a copper base, a pen to draw on the PCB, ferric chloride (diluted 250gr/l), cotton and acetone to remove the ink.
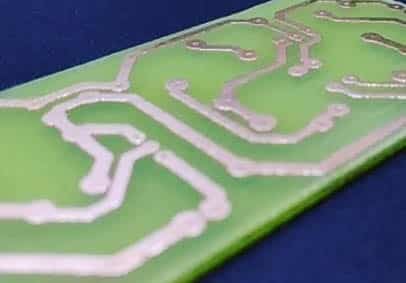
Steps: You draw the circuit directly on the copper or if you have a diagram already done you can copy it with copy paper on the base and then go over with the pen. Once the design is complete, the PCB must be immersed in a solution with ferric chloride in order to corrode the exposed copper. During this step the board must be moved every now and then to remove the copper deposit and speed up the process. There are containers with an inclined base that allow you to slide the solution over the base and therefore reduce the processing time and without having to shake the PCB. At the end of the process, the ink from the pen can be removed with acetone.
Pros and cons: This is the cheapest and fastest way to make a breadboard at home. The quality is low because we are drawing by hand, too small lines could be corroded and sometimes if too close they could join together. Finally, it will be necessary to drill the holes for the positioning of the THD components.
Photo engraved
This method involves the use of pre-treated bases or we deposit the photosensitive layer on a normal base.
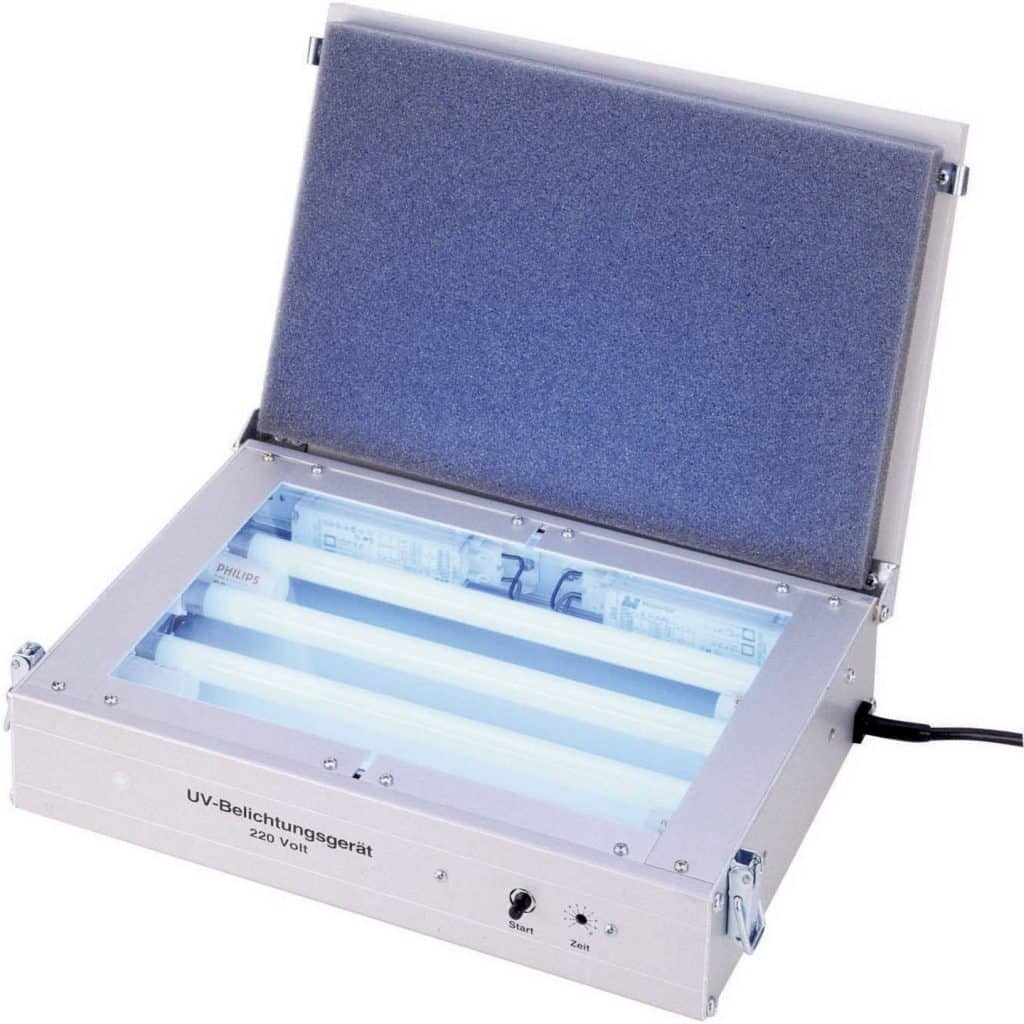
What you need: For this method you need a copper base with a photosensitive layer, a bromograph for engraving, caustic soda to remove the non-engraved layer and ferric chloride (diluted 250gr / l), glossy paper.
Steps: Now first we have to print our design on a tracing paper and once ready we have to place it on the bromograph. Don't worry if you don't have it, it is possible to make it with UV lamps, the important thing is that the base and the glossy are perfectly in contact and the light is uniform, you can also put a thin sheet of paper in front of the transparency (between lamp and sheet glossy) to make the light less strong and more uniform .. it depends on the distance of the lamps. The engraving depends on the power and distance from the UV light, 10-20 seconds or even more may be enough. Once it's exposed, the PCB is put in a solution with caustic soda (7-10gr / l) to remove the part exposed to UV. once this process is completed, proceed as for the previous method of etching with ferric chloride.
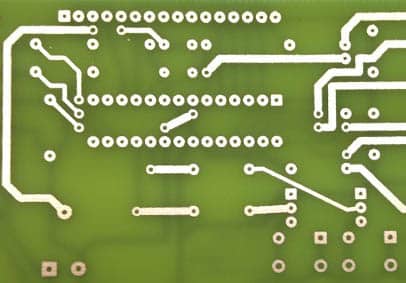
Pros and cons: This procedure allows for much more precise, thinner and closer tracks than drawing by hand. Lines that are too thin may be broken if the quality of the transparency or if it has been exposed to too much UV. It requires more time and different equipment. Finally, it will be necessary to drill the holes for the positioning of the THD components.
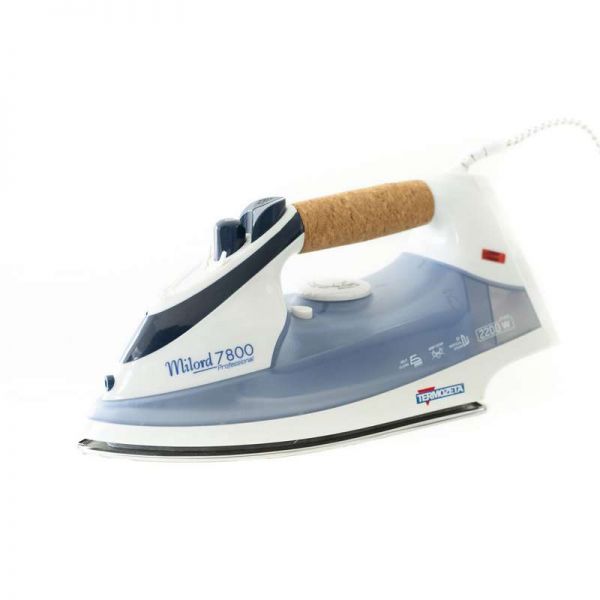
Ironing
This is a good compromise between the manual method and the more laborious and expensive photoengraving.
What you need: The usual copper base, toner transfer paper, laser printer and ferric chloride (diluted 250gr / l).
Steps: We always start from the PCB design and print it with a B / W laser printer in good resolution on this transfer sheet. Once the printed sheet has been obtained, this will be ironed over the copper base at a temperature like cotton, then maybe adjust according to the heat, usually 5 minutes are enough, decisive steps are needed. The PCB is then left to cool and at this point it is ready. You are ready to remove the paper and perform the usual etching method with ferric chloride (see above).
Pros and cons: This system allows for much more precise, thinner and closer lines than the hand drawing and is simpler than the photoengraving method. If the resolution is not high or the track is too small it may be cut off. Requires a laser printer. Finally, it will be necessary to drill the holes for the positioning of the THD components.
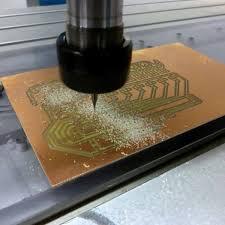
CNC
With this method we no longer need the acid to dissolve the copper, but instead a CNC cutter will be needed.
What you need: The PCB, CNC milling machine.
Steps: This time we will not print the drawing of our PCB on paper but we will feed it to a cutter that will have to remove all the superfluous copper leaving our tracks on the base. The convenience of using this system is that once engraved, we will be able to drill the holes directly on the printed matter, obviously we must have the correct sized tips supplied .. it all depends on how good and automatic the cutter is.
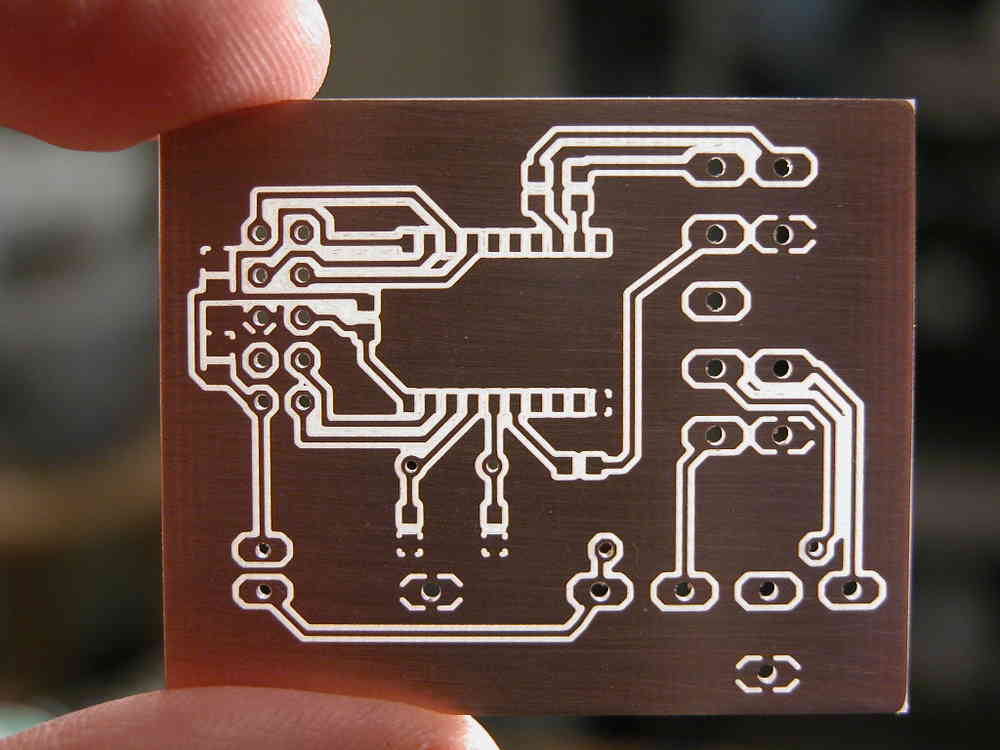
Pros and cons: This system allows to have precise and clean tracks and to drill the holes automatically or semi (depending on the cutter). It is necessary to have a cutter and the cost is not exactly cheap, in addition it is necessary to know how to manage it to do a good job. During cutting, it is necessary to have suction or good ventilation.
We use cookies strictly necessary to ensure an optimal experience in browsing the site. By clicking on "Accept all", you allow us to use all cookies. You can always review your consent by clicking on Cookie settings. We use cookies on our website to give you the most relevant experience by remembering your preferences and repeat visits. By clicking “Accept All”, you consent to the use of ALL the cookies. However, you may visit "Cookie Settings" to provide a controlled consent.
This website uses cookies to improve your experience while you navigate through the website. Out of these, the cookies that are categorized as necessary are stored on your browser as they are essential for the working of basic functionalities of the website. We also use third-party cookies that help us analyze and understand how you use this website. These cookies will be stored in your browser only with your consent. You also have the option to opt-out of these cookies. But opting out of some of these cookies may affect your browsing experience.
Necessary cookies are absolutely essential for the website to function properly. These cookies ensure basic functionalities and security features of the website, anonymously.
Cookie
Durata
Descrizione
cookielawinfo-checkbox-analytics
11 months
This cookie is set by GDPR Cookie Consent plugin. The cookie is used to store the user consent for the cookies in the category "Analytics".
cookielawinfo-checkbox-functional
11 months
The cookie is set by GDPR cookie consent to record the user consent for the cookies in the category "Functional".
cookielawinfo-checkbox-necessary
11 months
This cookie is set by GDPR Cookie Consent plugin. The cookies is used to store the user consent for the cookies in the category "Necessary".
cookielawinfo-checkbox-others
11 months
This cookie is set by GDPR Cookie Consent plugin. The cookie is used to store the user consent for the cookies in the category "Other.
cookielawinfo-checkbox-performance
11 months
This cookie is set by GDPR Cookie Consent plugin. The cookie is used to store the user consent for the cookies in the category "Performance".
viewed_cookie_policy
11 months
The cookie is set by the GDPR Cookie Consent plugin and is used to store whether or not user has consented to the use of cookies. It does not store any personal data.
Functional cookies help to perform certain functionalities like sharing the content of the website on social media platforms, collect feedbacks, and other third-party features.
Performance cookies are used to understand and analyze the key performance indexes of the website which helps in delivering a better user experience for the visitors.
Analytical cookies are used to understand how visitors interact with the website. These cookies help provide information on metrics the number of visitors, bounce rate, traffic source, etc.
Advertisement cookies are used to provide visitors with relevant ads and marketing campaigns. These cookies track visitors across websites and collect information to provide customized ads.


