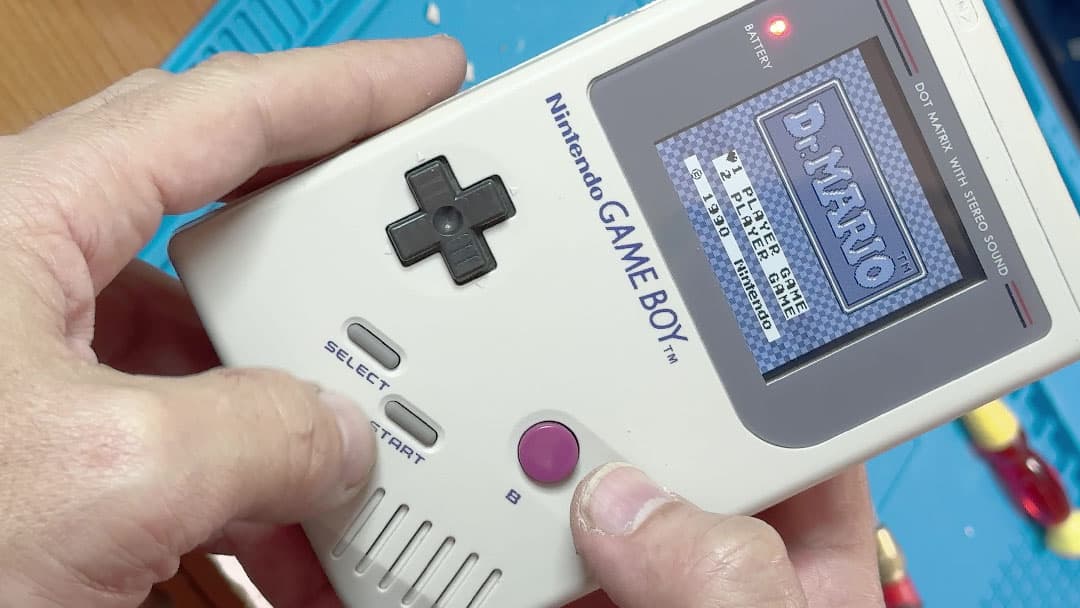
The Game Boy Classic has the distinctive unlit B/W LCD screen, and to improve playability on this console you have two options.
One is to keep the original LCD and add a backlight panel behind it.
The other is to replace the whole screen with a new backlit one; now let’s look at the differences.
1) Panel backlight
This is the harder route, with a worse result. Why do it?
With this mod you keep the original display and its characteristics. The less nice thing is that the panel inserted behind gives a low-contrast effect and the light may not be even, especially where the illumination starts. It’s a mod that will appeal to anyone who wants to keep the look and visual feel of the era.
To do this mod, the first thing is to open the Game Boy by removing the screws on the back of the console. These are special and need a three-pronged screwdriver called a tri-wing. You can find a set on Amazon or wherever you prefer: https://amzn.eu/d/3NZXrn7
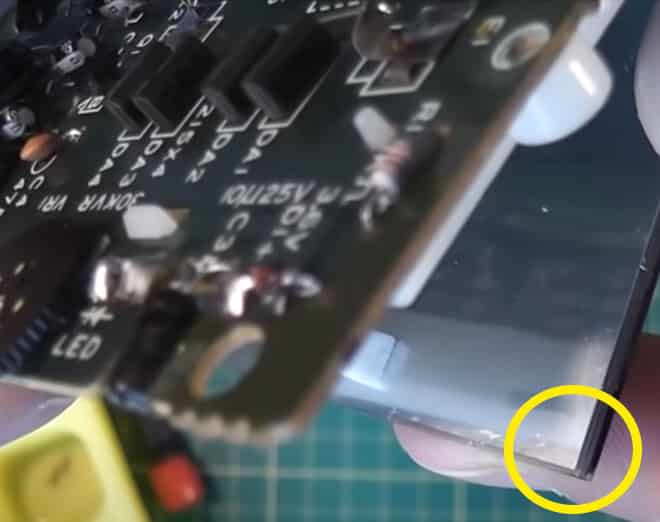
Inside, on the other hand, there are Phillips cross-head screws. We need to remove the board under the LCD screen, the one with the speaker and the contrast wheel. With the board removed, it’s best to take out the ribbon cable so you can work more easily. Next comes the LCD display: there are two soldered connectors, so if we don’t want to start desoldering, we have to be careful not to force the connector too much. Just lift the screen from its holder and very gently try to remove the silver reflective film.
This can be done with the help of a thin tool such as a credit card, a thin plectrum or a razor blade, taking care not to damage the glass. Then, very gently, try to remove this film without using too much force, so you don’t risk snapping the screen in two.
Once the film is removed, insert the backlight panel under the screen and make the electrical connection to power it. For this you’ll need to connect two wires; follow the panel supplier’s guide to know where to take the signals from.
Finally, just close everything up and enjoy the mod.
2) LCD replacement
This is the simplest mod and the one with the best visual result; the only drawback is that it will transform our Game Boy visually. It’ll be much appreciated by anyone who wants a new LCD and wants to play with clear, well-defined characters, but not by those looking for an experience like the original.
The steps are similar to the previous mod, at least up to removing the LCD board, so rather than repeat myself, check above.
Once the screen board is removed, we need to desolder the speaker to move it to the new board.
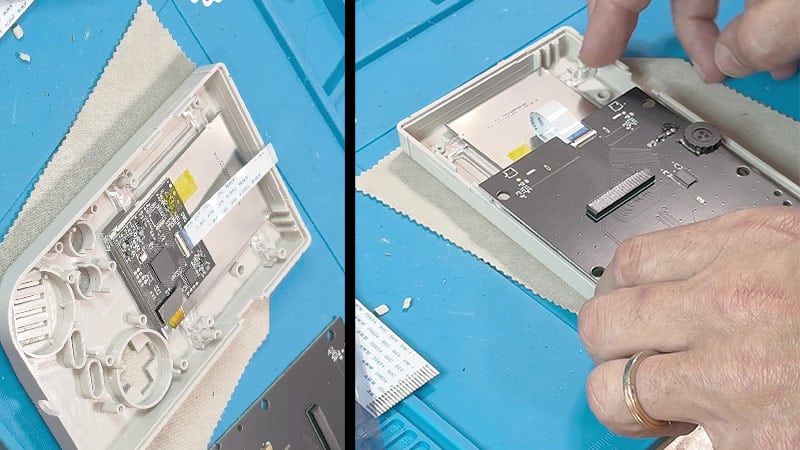
Once the board is ready, we need to fit the transparent bracket that acts as a guide to keep our LCD screen aligned; don’t worry if it’s bigger than the original, the upper part will be used. What you do need to do is remove a post just above the screen opening on the Game Boy shell. Look at the photo on the right where the transparent bracket is visible: if you look closely at the shell, a mounting post is missing at the top right; even though it isn’t highlighted, compare it with yours and you’ll see the difference straight away. This post prevents the LCD screen from sitting in place, so you can’t go wrong: it has to be removed with a craft knife, a small saw or side cutters, then filed down as flat as possible so it doesn’t press on the screen.
Once the screw post is removed, you can position the transparent guide and the LCD screen and, as a further step, connect the small ribbon cable to the control board. This handles the buttons and the screen adjustment via the wheel (encoder) on the side. Fit the speaker and screw the board down, then connect the large ribbon cable from the main board to the screen and the mod is done!
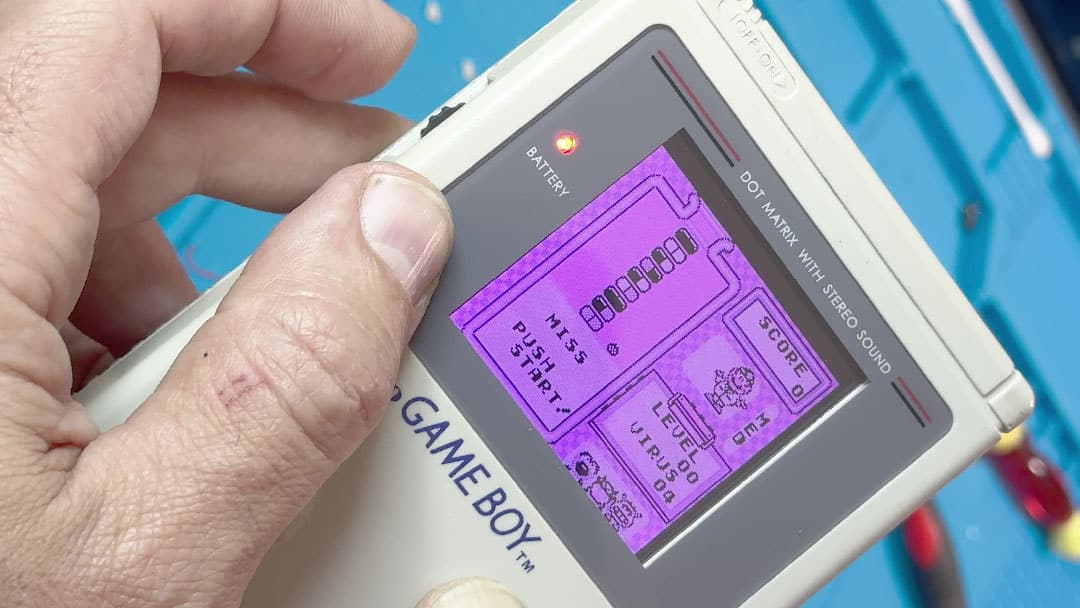
Close everything up and enjoy the new LCD with lots of new features
Now, with the wheel on the side, we can adjust the brightness, and if it’s pressed for less than a second we change the screen colour, while holding it down brings up a menu with settings for colour temperature, showing the battery level and doing a nice factory reset.